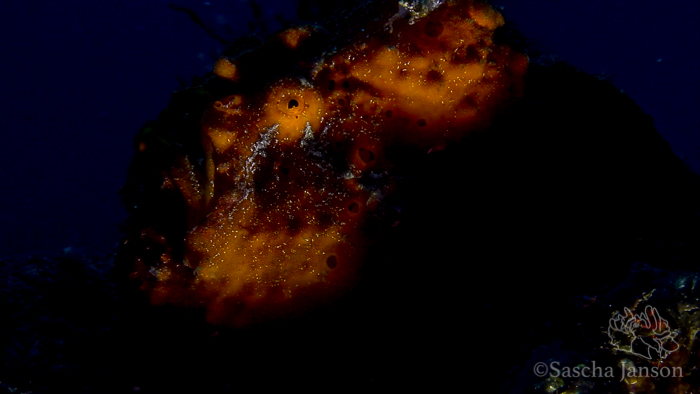
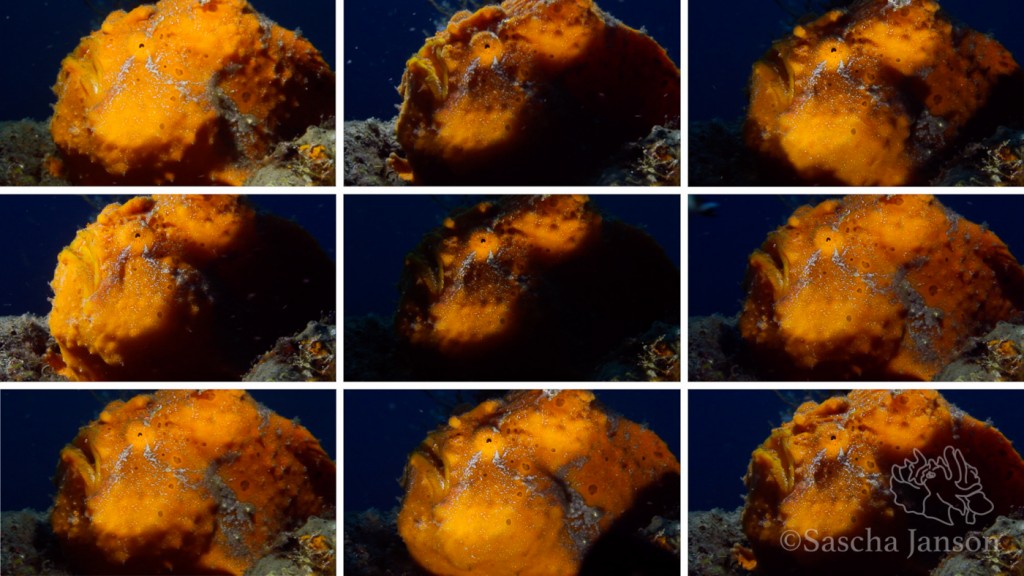
UV or fluorescence dives are becoming more and more popular and many dive resorts offer them as part of the experience.
Doing fluorescence dives can be very different than normal dives, and the fluorescence is best appreciated on night-dives.
How to shoot fluorescence underwater?
There are different ways to do fluorescent photography; one way is to use a UV or fluorescent focus/video light to look for subjects, fluorescence filters on our strobes, a yellow filter on our camera and a yellow filter on our mask and the other way is to just use UV lights and a yellow filter on the camera (and mask) and no additional strobes. Because of all these filters the light is not that strong in the first place and we need to use different settings on our cameras. High ISO numbers, large apertures (low f-numbers) and slow shutter speeds are typically needed to be able to see something in our images.
Shooting with strobes
Strobes with fluorescence filters strapped on are stronger than UV lights, allowing us to choose lower ISO numbers, faster shutter speeds and smaller apertures, but we still cannot shoot with our typical macro settings…I usually start off with something like ISO 800-1600 , f8, 1/60sec, take a test-shot and then adjust accordingly…sometimes we need to boost the ISO up more to get the desired depth of field, but that can introduce noise (newer cameras can handle very high ISO numbers without having too much noise)
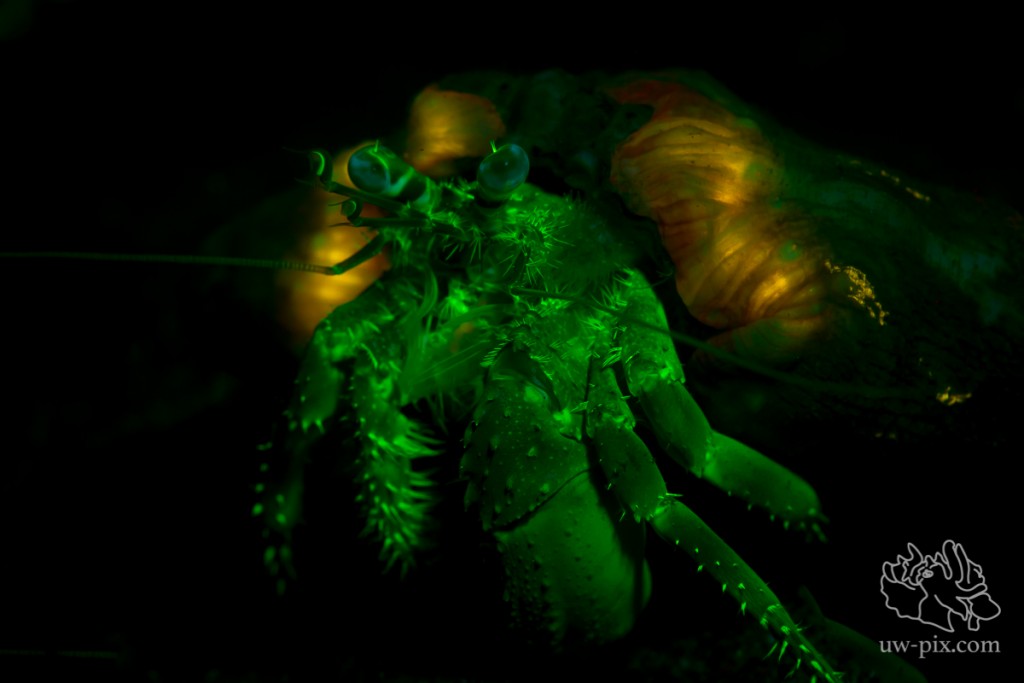
Hermit crab – Canon 7D, 60mm macro, ISO800, f7.1, 1/60sec, 1x i-Torch Pro6 as focus light, 1x INON Z240 with fluorescence filter strapped over the strobe
Shooting with video lights:
Many video and focus lights nowadays have the UV function built in. If you don’t want to invest in the fluorescence filters for the strobes it is possible to use only the UV lights to get some good shots as long as the subjects are small. A good starting setting there is around ISO800-1600, f5, 1/30sec and then adjust according to the subject…for moving subjects use a faster shutter speed.
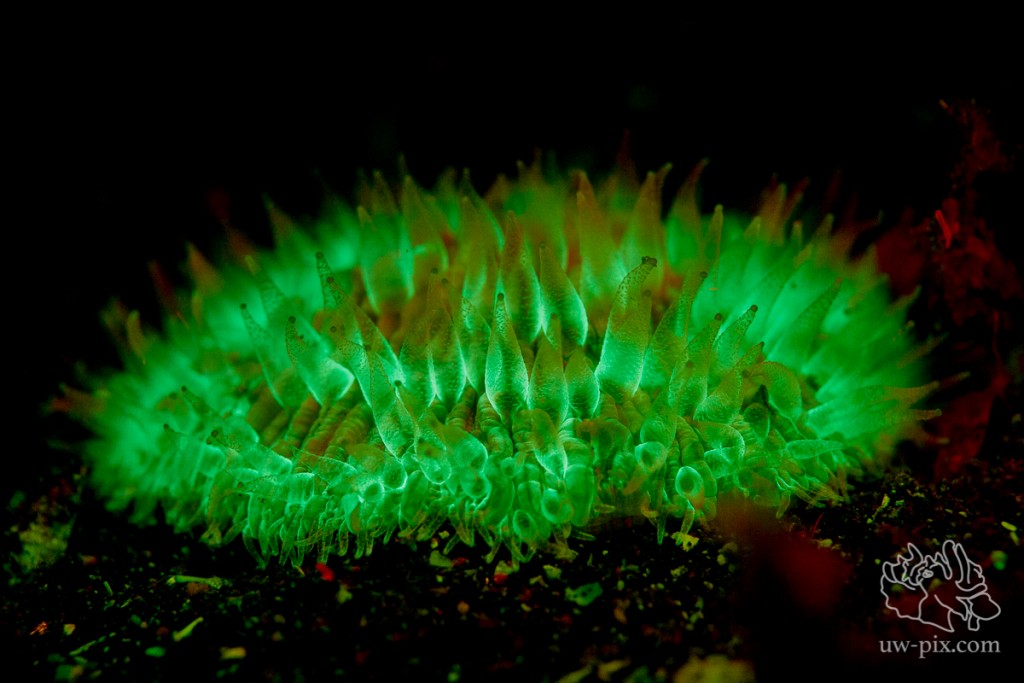
Mushroom coral – Canon 7D, 60mm macro, ISO800, f4.5, 1/30sec, 1x i-Torch Pro6+, 1xi-Torch Pro 7 with fluorescence filter strapped over the light
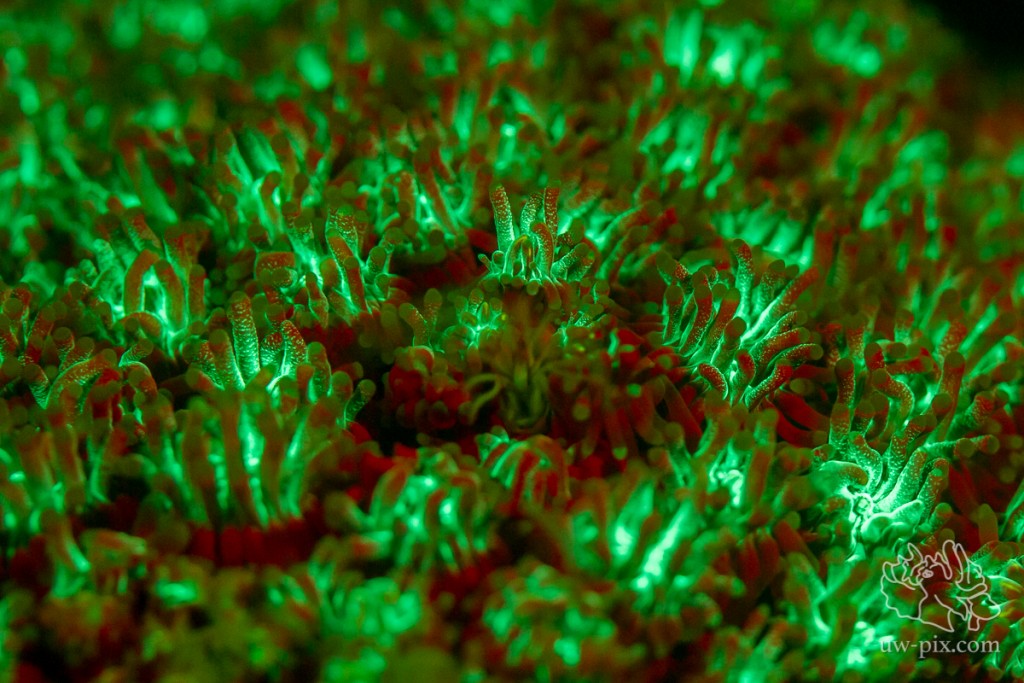
Galaxea coral – Canon 7D, 60mm macro, ISO800, 1/30sec, f4, 1xi-Torch Pro6
It is easiest to photograph corals and anemones as they don’t move much, but a lot of the critters here in Lembeh are fluorescent as well…
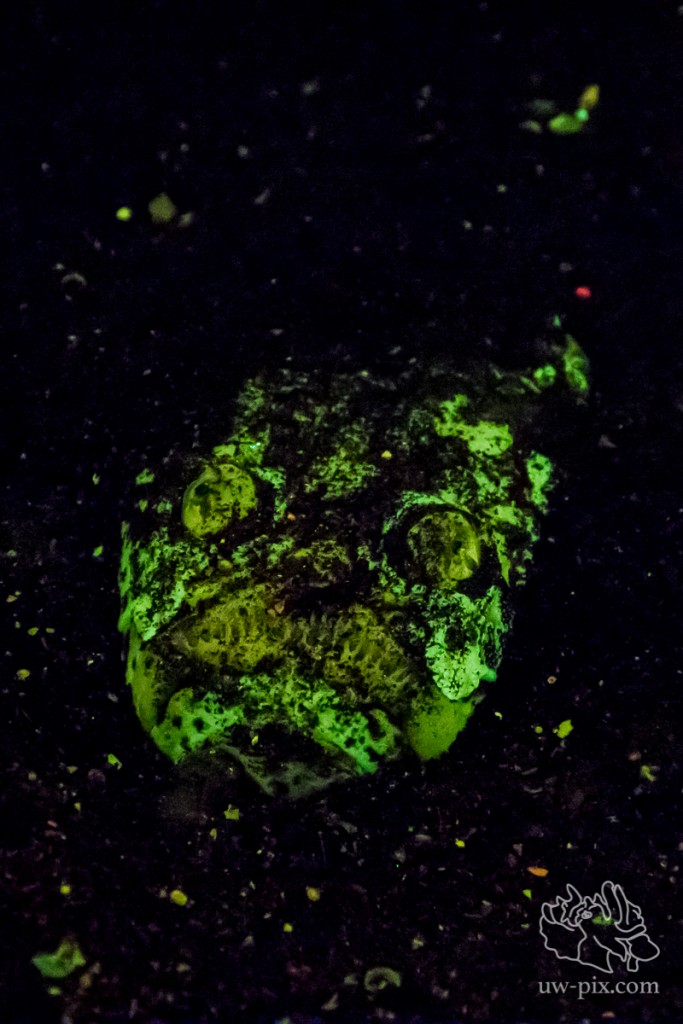
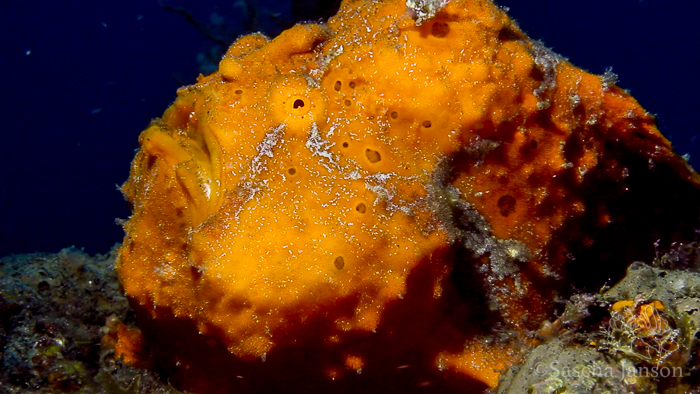
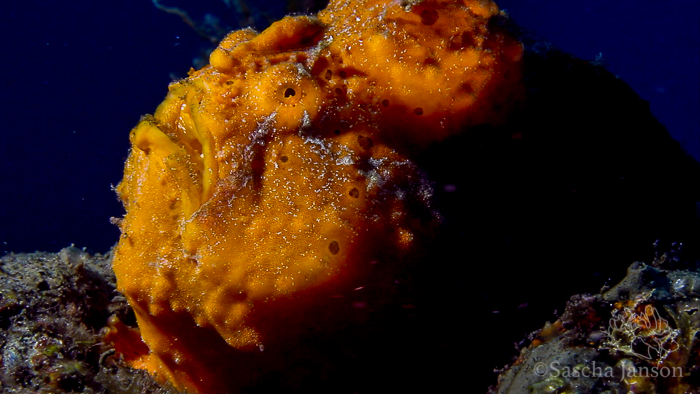
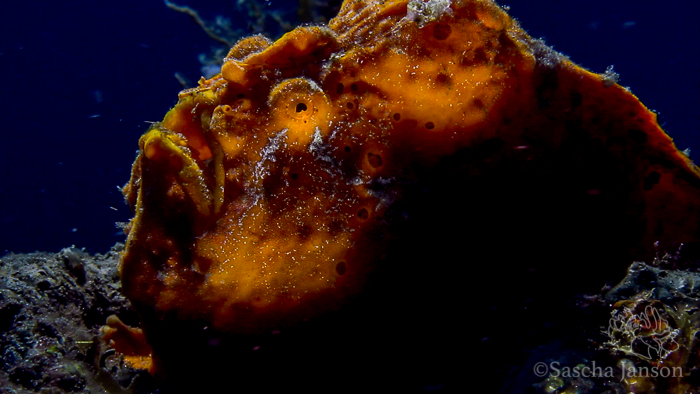
Stargazer (Uranoscopus sp) – Canon 7D Mark II, Tokina 10-17, Kenko 1.4 TC, @17mm, ISO640, f7,1, 1/60sec, 2xi-Torch Venom 50
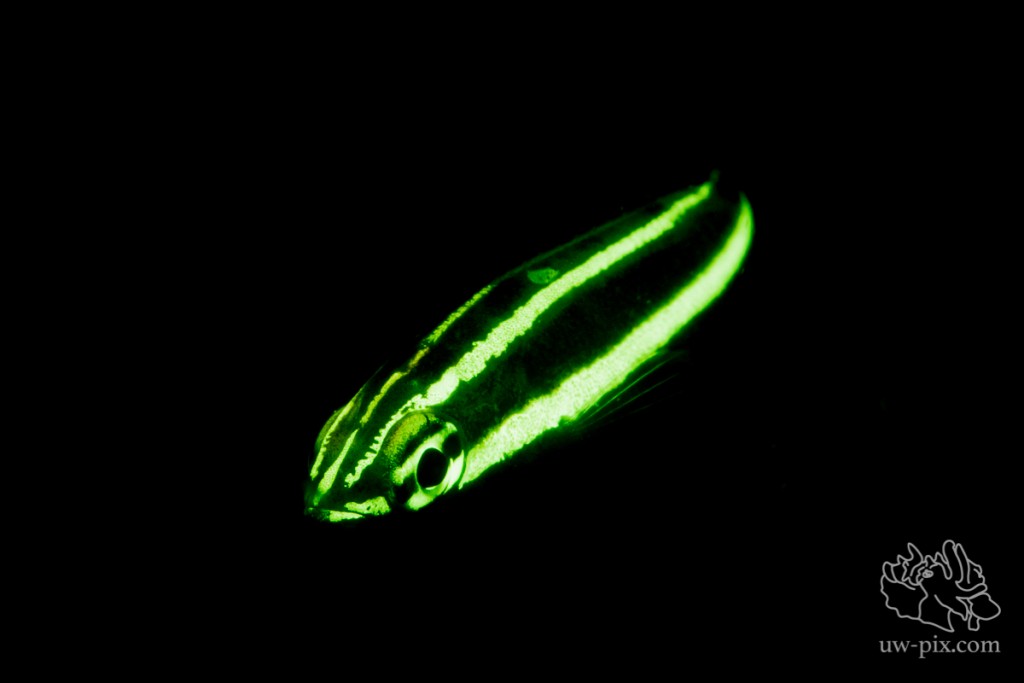
Wrasse – Canon 7D Mark II, 60mm macro, ISO640, f5.6, 1/125sec, 2x i-Torch Venom 50
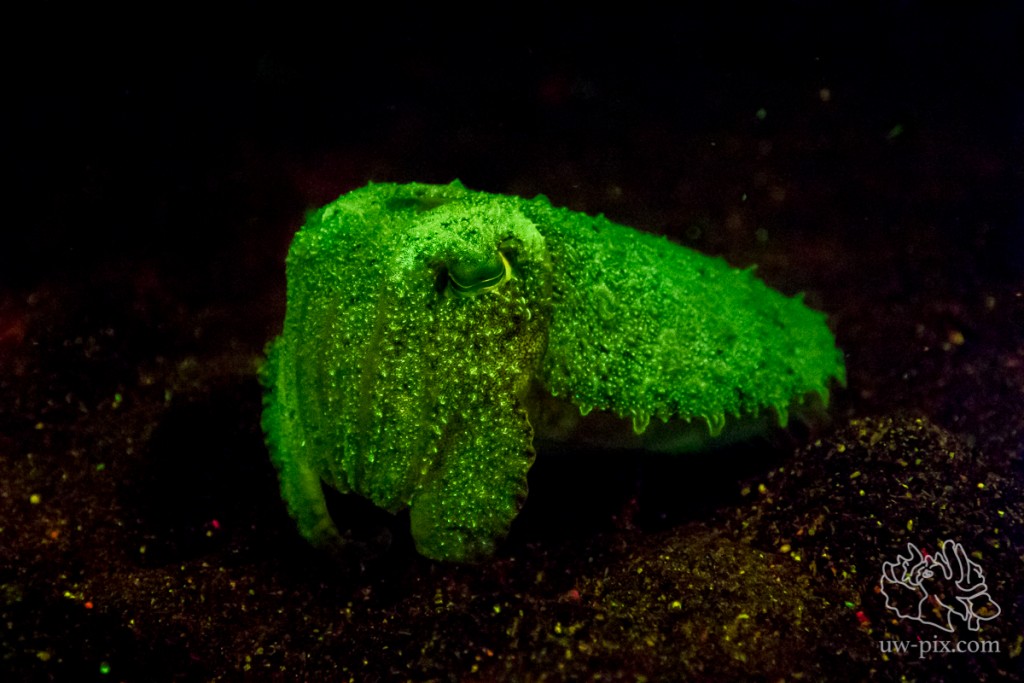
Needle cuttlefish (Sepia aculeata) – Canon 7D Mark II, Tokina 10–17mm, Kenko 1.4x TC, ISO 16000, f/6.3, 1/30s, 2x i-Torch Venom 38
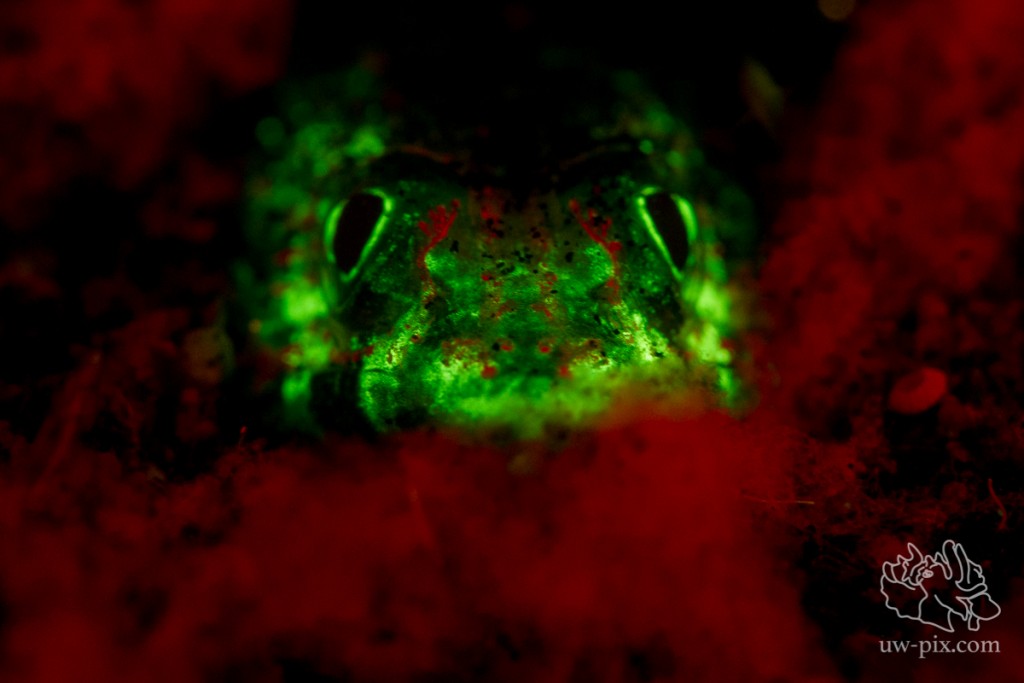
Lizardfish – Canon 7D, 60mm, ISO640, 1/30sec, f5, 1x i-Torch Pro6
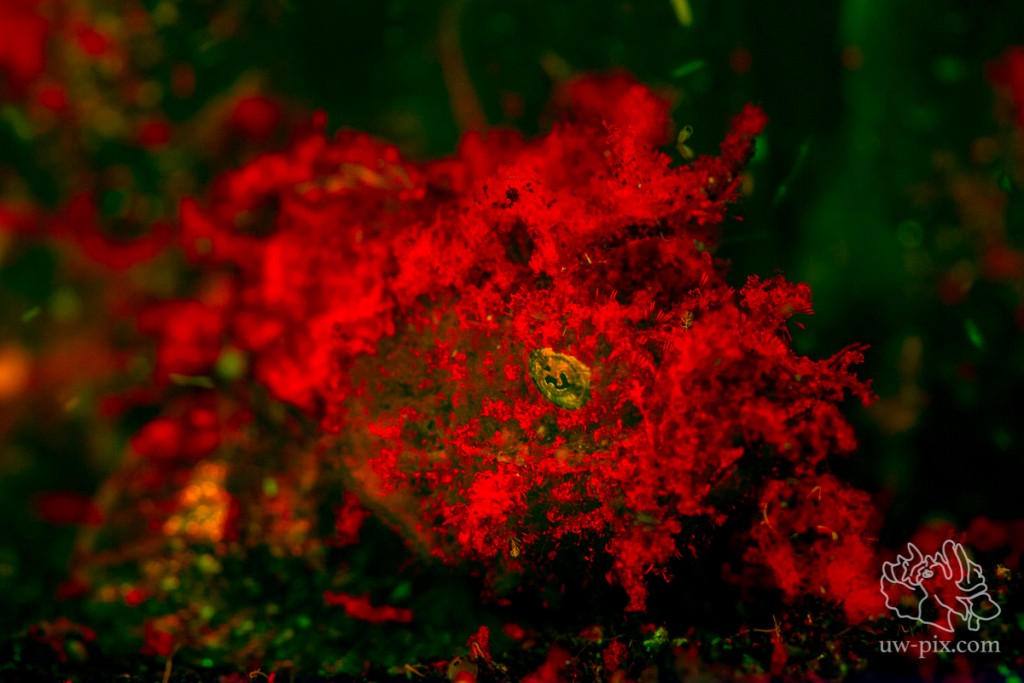
This is a little scorpionfish with some algae growth on him…the scorpionfish itself is not fluorescent, it’s the algae! – Canon 7D, 60mm, ISO640, 1/30sec, f3.5, 1x i-Torch Pro6+, 1xi-Torch Pro 7 with fluorescence filter strapped over the light
With multiple UV lights and a wider lens (i.e. fisheye lens) it is possible to illuminate larger subjects:
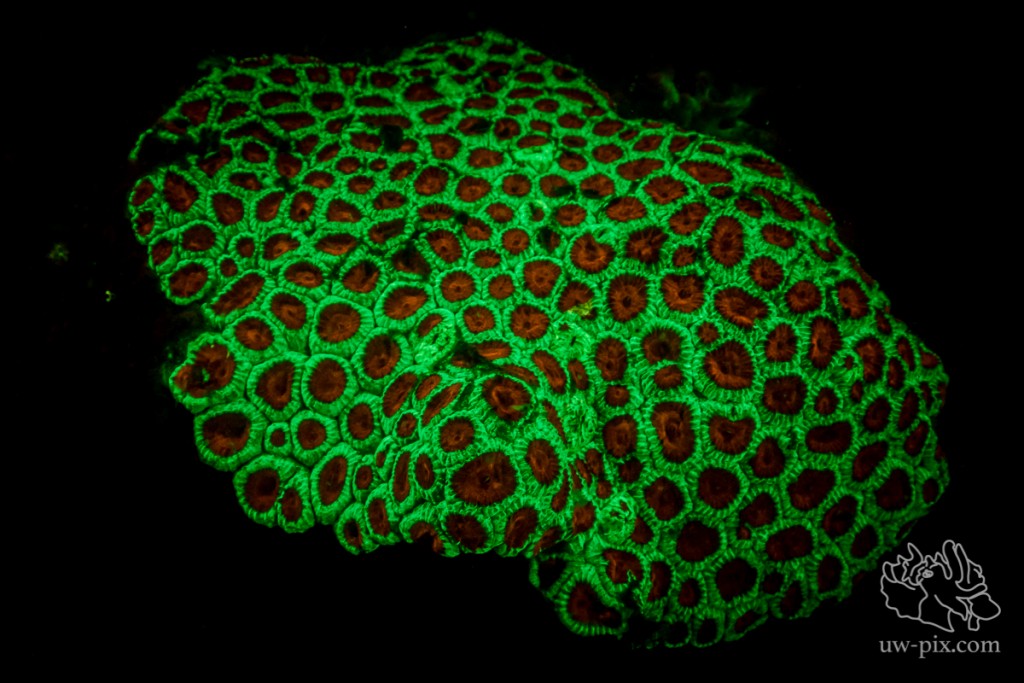
Favia coral – Canon 7D Mark II, Tokina 10-17, Kenko 1.4 TC, @17mm, ISO640, f7,1, 1/60sec, 2xi-Torch Venom 50, 2xi-Torch Venom 38, 1x i-Torch Pro6+

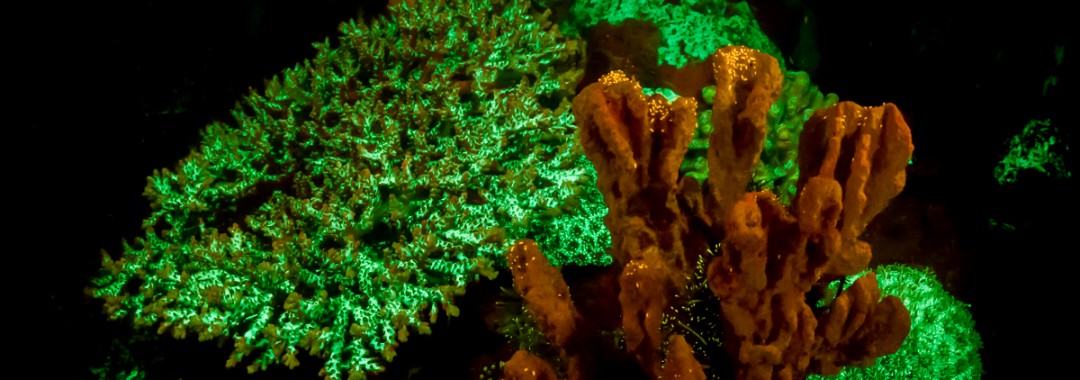
Reef-scene in UV view – Canon 7D Mark II, Tokina 10–17mm, Kenko 1.4x TC, @14mm, ISO 5000, f/5, 1/60s, 2xi-Torch Venom 50, 2xi-Torch Venom 38, 1x i-Torch Pro6+
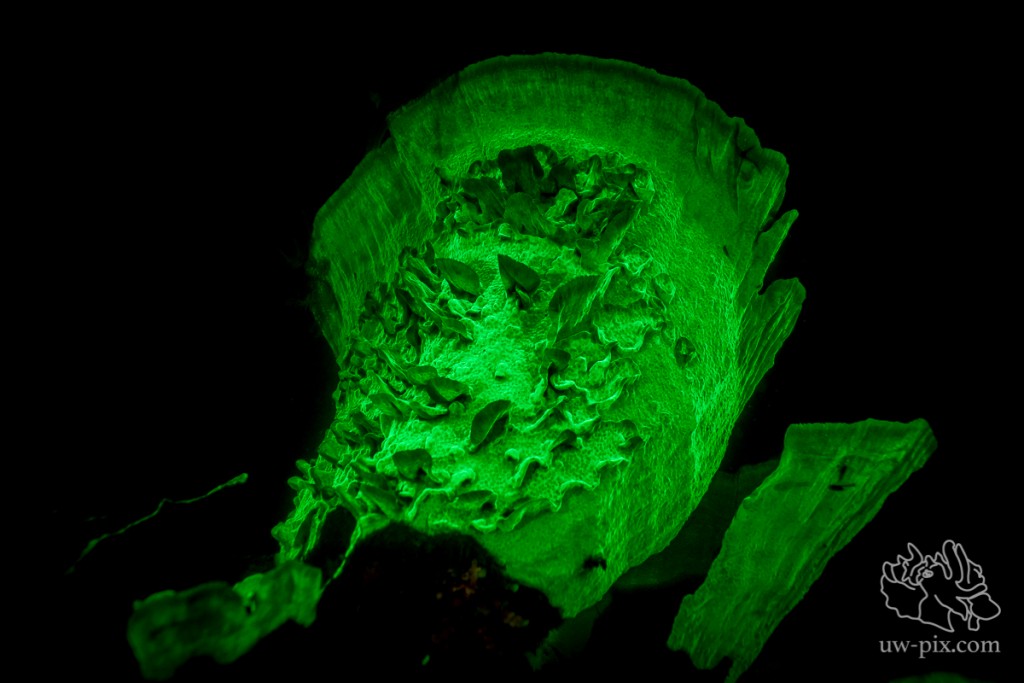
Hard coral (Montipora tuberculosa) – SONY A7 RII, SONY FE 16-35mm f4 ZA OSS @16mm, ISO2000, f4, 1/60sec, 1xi-Torch Venom 50, 2x i-Torch Venom 38, 1x i-Torch Pro6+
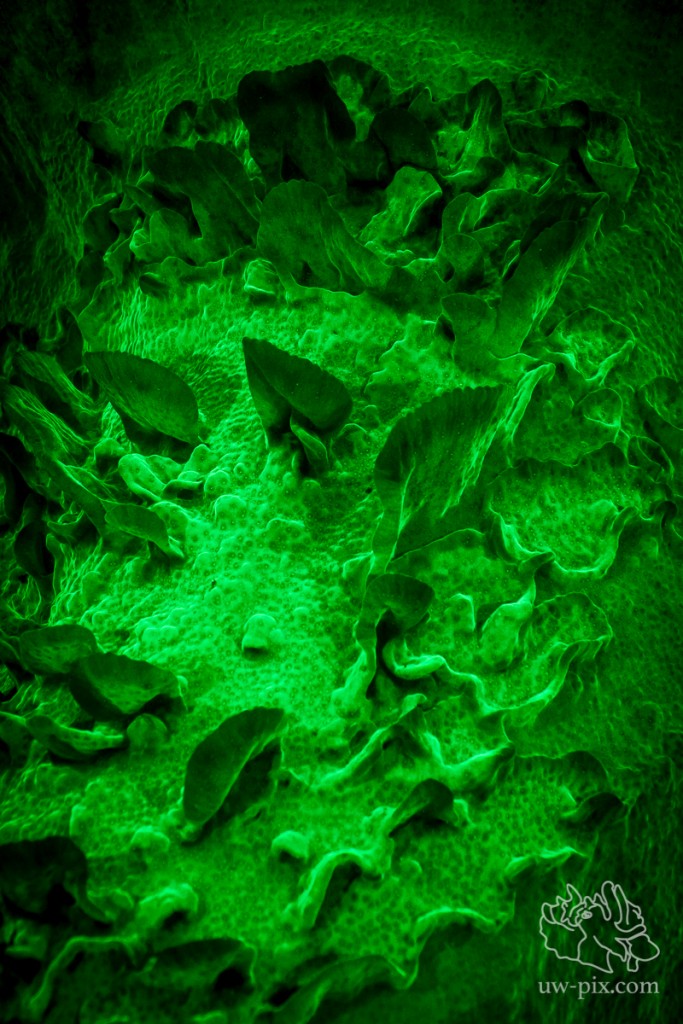
Close-up of above image
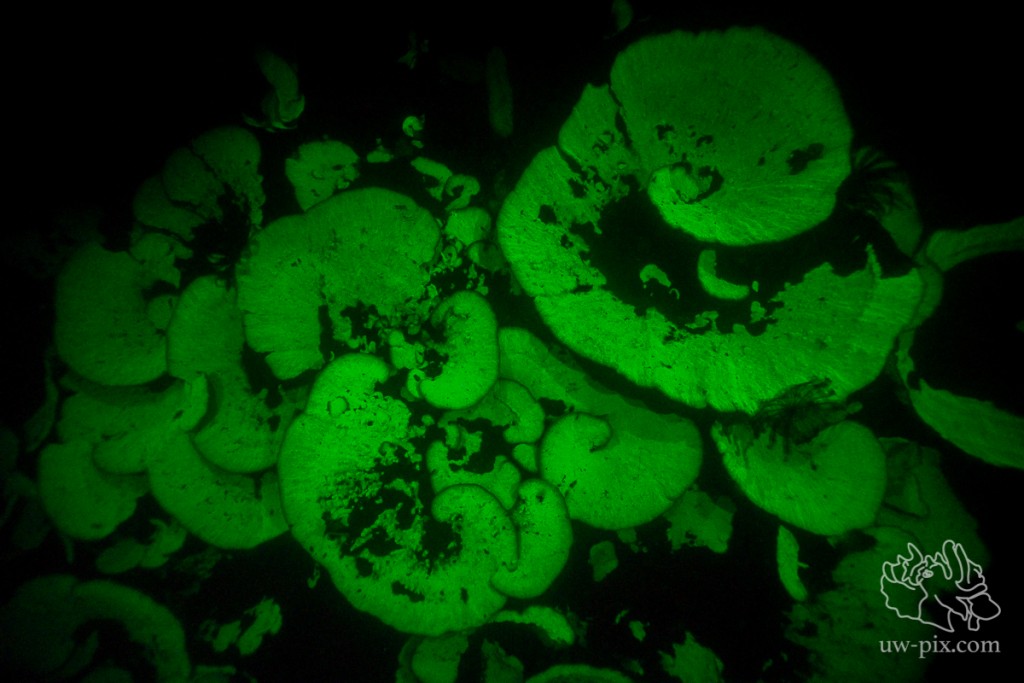
Hard coral (Montipora tuberculosa) – helicopter-shot – SONY A7 RII, SONY FE 16-35mm f4 ZA OSS @16mm, ISO20.000, f4, 1/60sec, 1xi-Torch Venom 50, 2x i-Torch Venom 38, 1x i-Torch Pro6+
Scientists still don’t fully understand what purpose(s) fluorescence serves in marine life but theories propose that it may be for communication, as protection and to fool predators. Whatever the reason, it’s fascinating to discover and photograph a whole new side to fish, creatures, corals and anemones whose appearance changes radically under fluorescent light. See if you can discover fluorescence in an organism you never knew had it in them! Remember as always to be respectful of marine life and be cautious if you are using fluorescent lights on an animal, as some may have eyes which are particularly sensitive to that spectrum of light. Also keep in mind that if you are diving with UV lights, non-fluorescent coral is harder to see, so go slow and take care not to damage unseen organisms or habitat.
