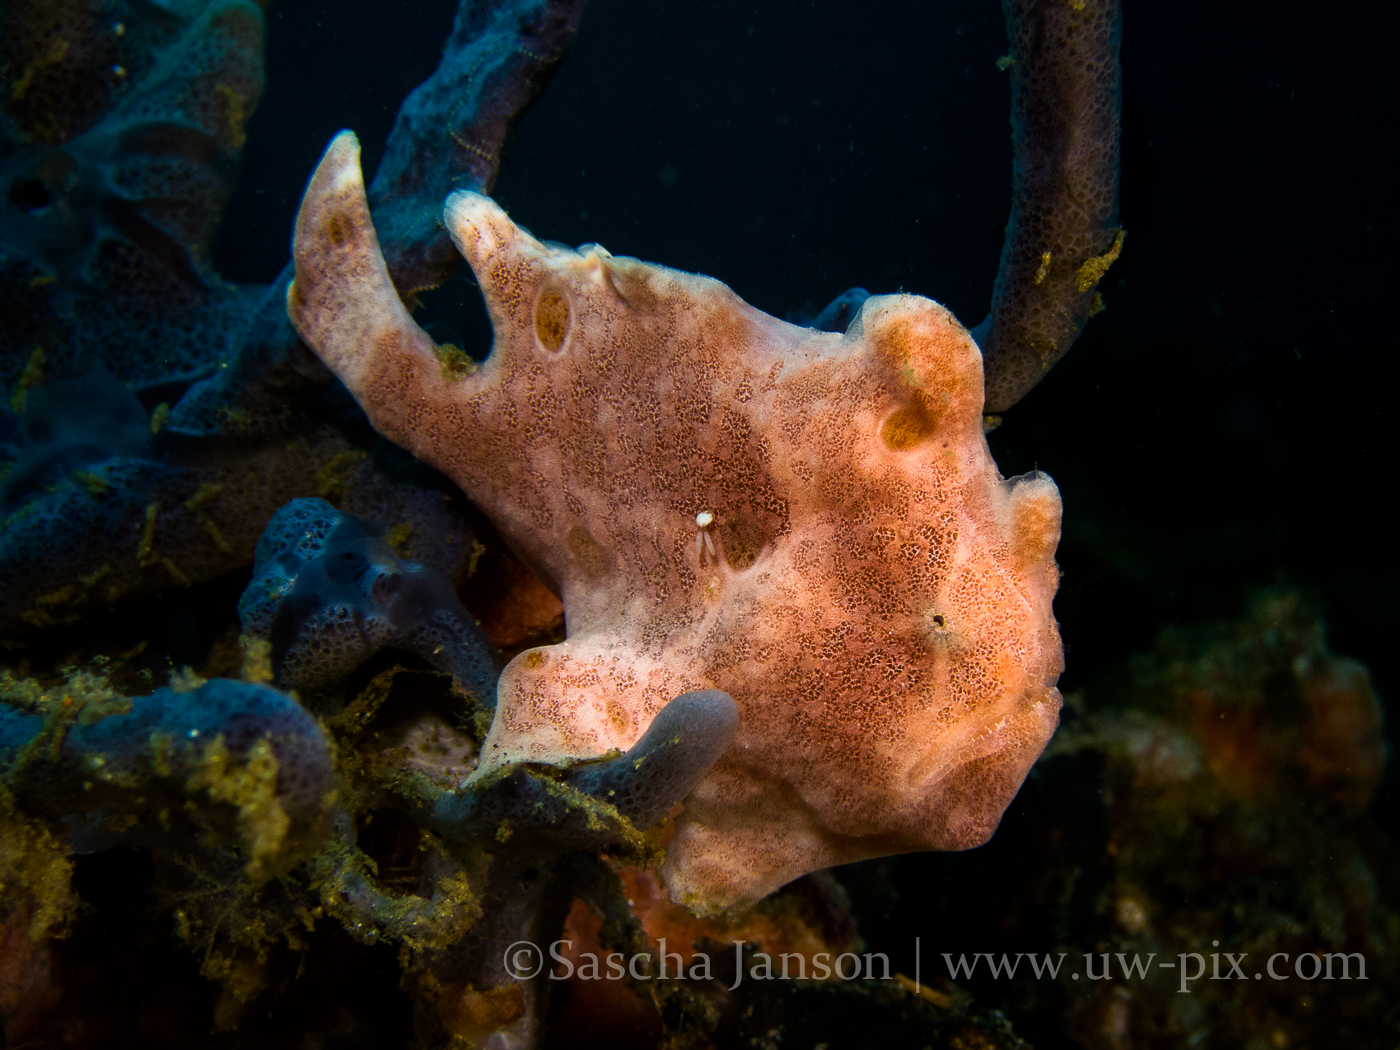
Frogfishes are a member of the anglerfish family and eat pretty much everything, shrimps, fish and even other frogfish. The strike itself is accomplished with the sudden opening of the jaws, which enlarges the size of the mouth up to 12 times, pulling the prey into the mouth along with water. The water flows out through the gills, while the prey is swallowed and the food pipe closed with a special muscle to keep the victim from escaping. In addition to expanding their mouths, frogfish can also expand their stomachs to swallow animals up to twice their size.
Tag Archives: underwater
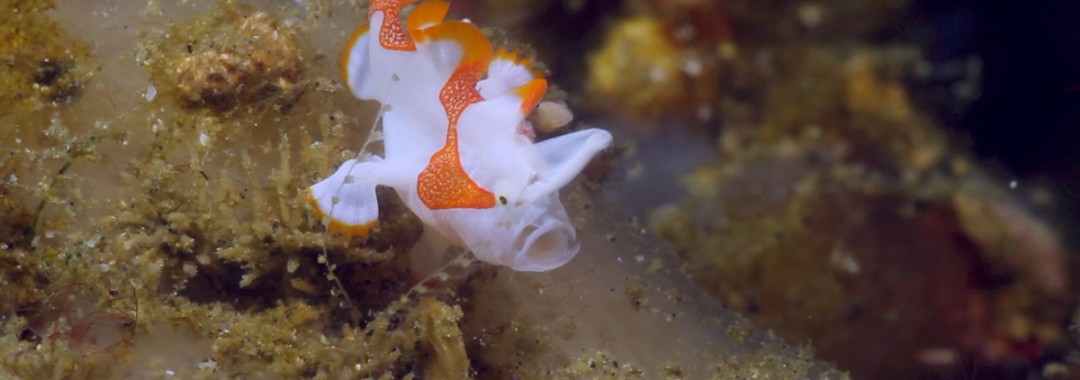
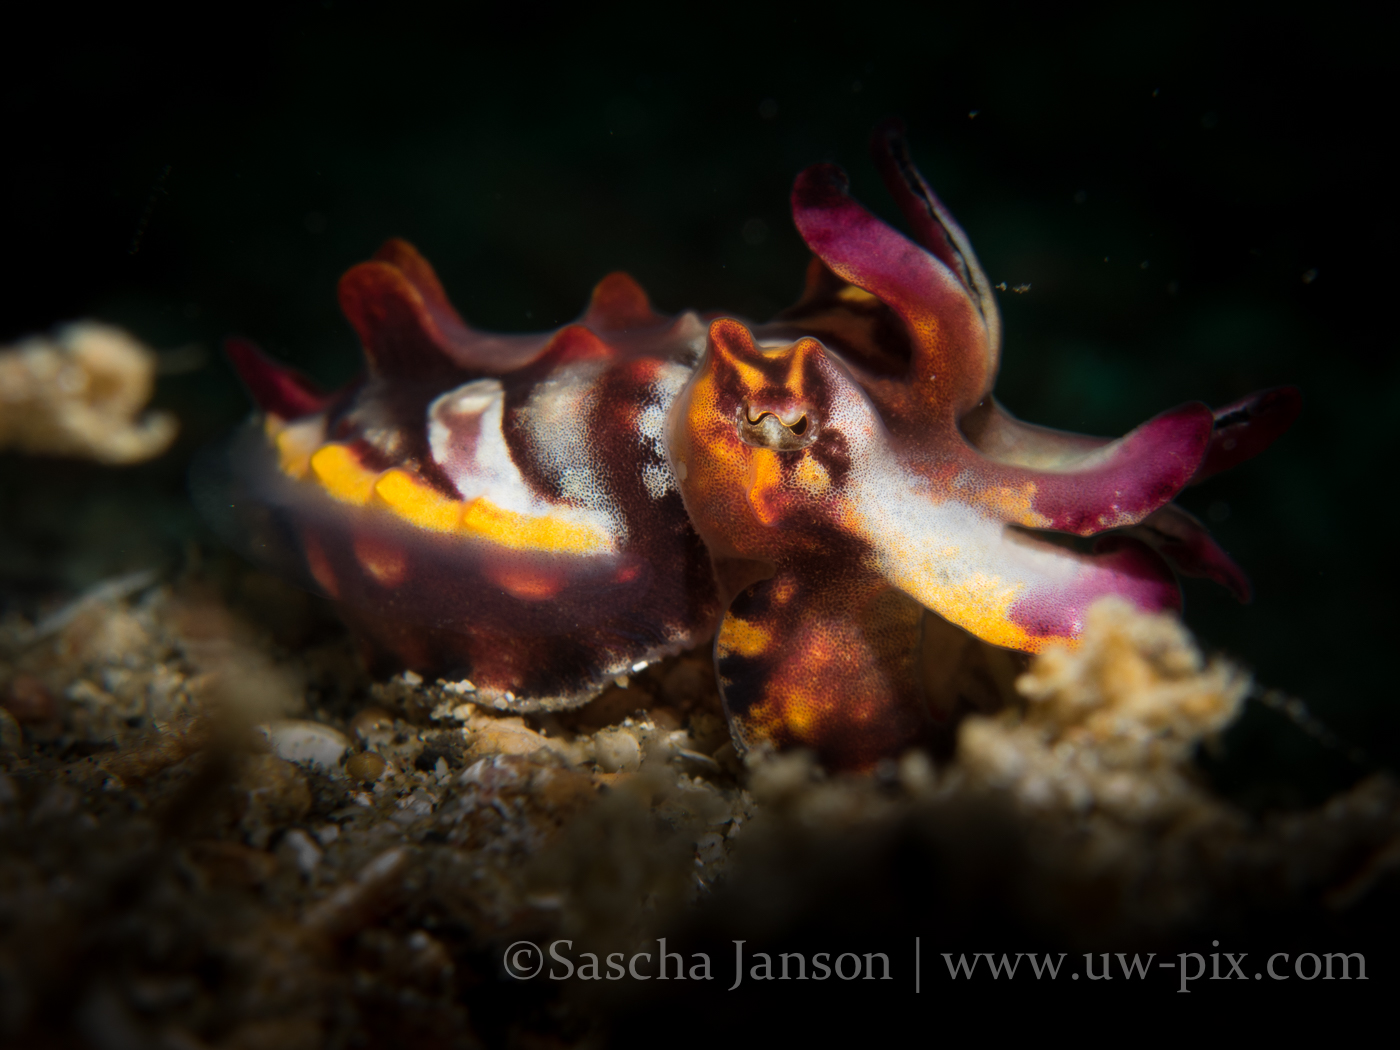
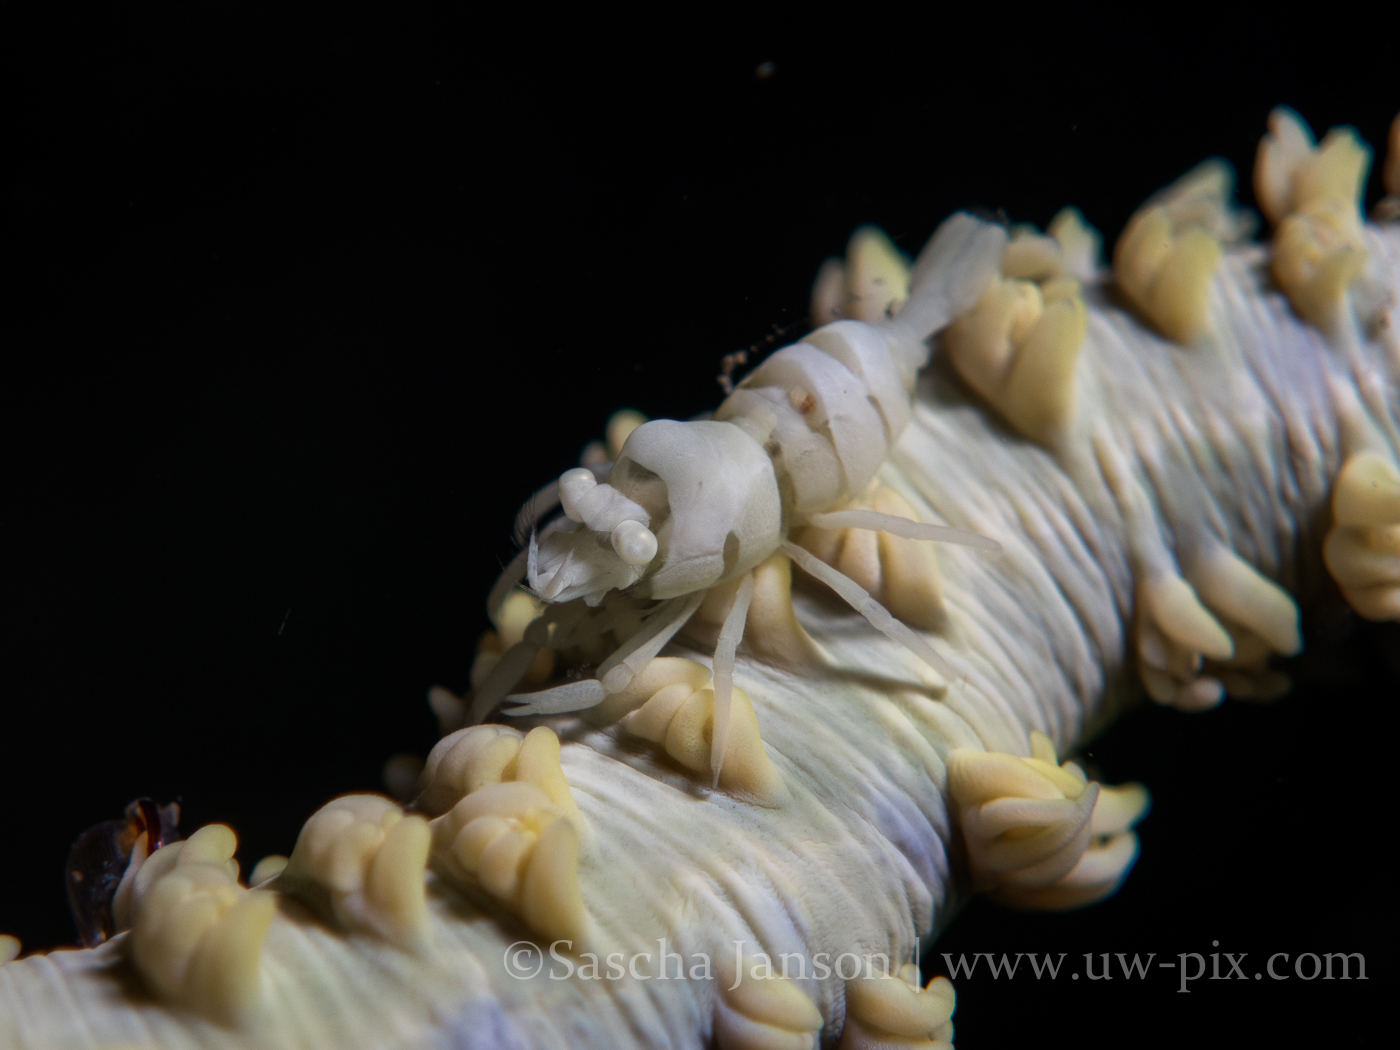
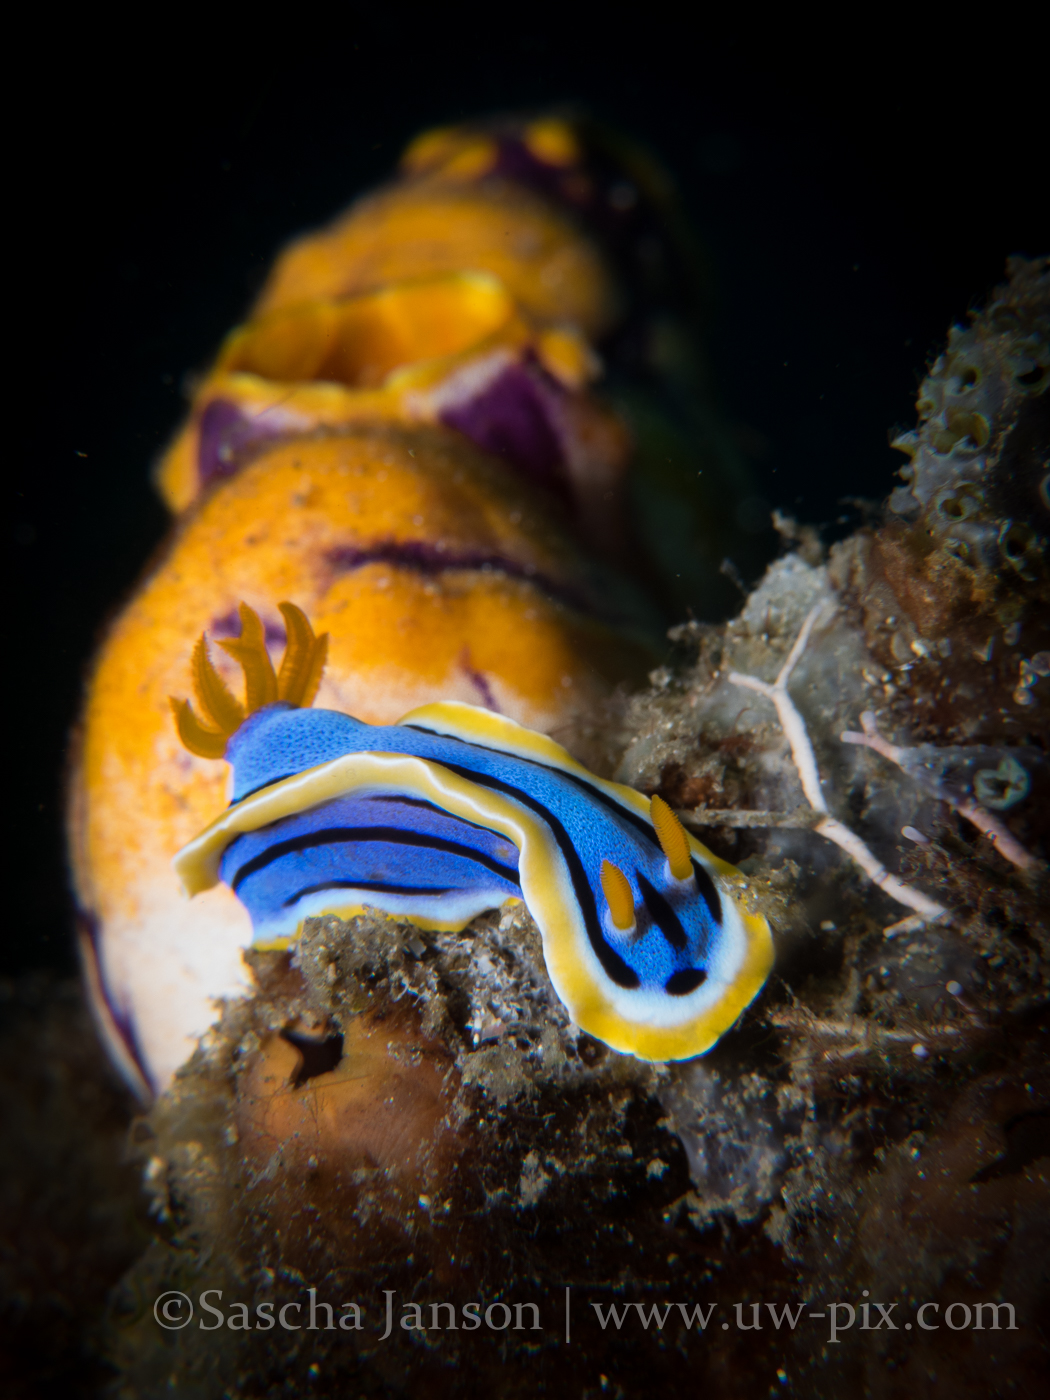
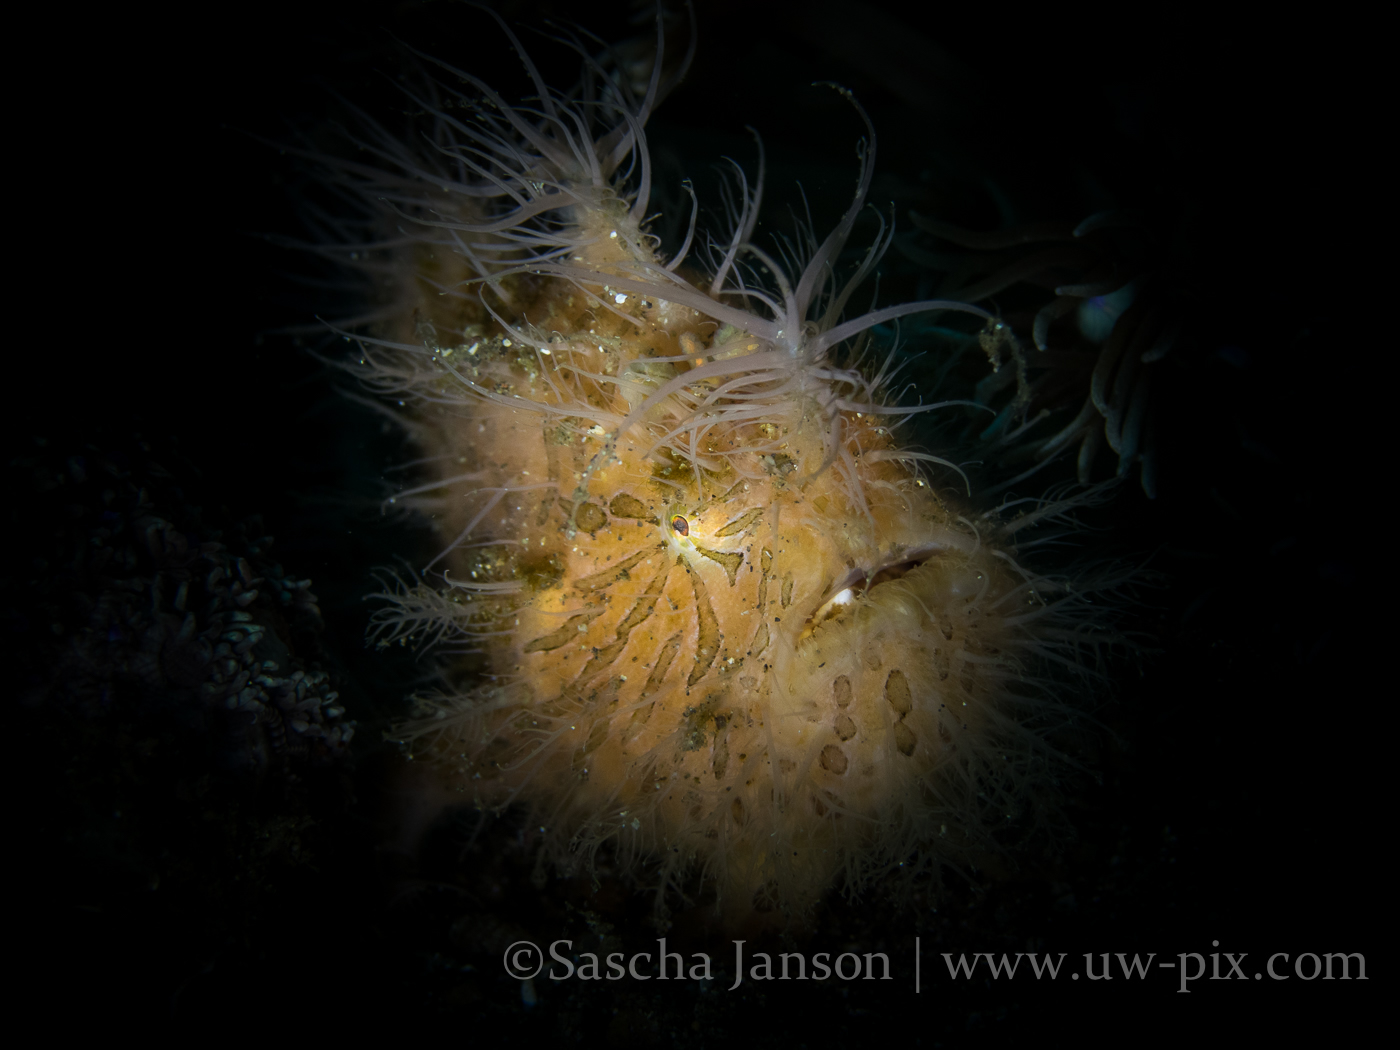
Critters of the Lembeh Strait | Eat dessert first
This little clown frogfish (Antennarius maculatus) obviously did not eat his dessert first! Frogfish tend not to be picky eaters and have been known to eat just about any creature that is close enough and that will fit in their mouth (including other frogfishes of the same species) but this shrimp seemed to not suit his palate. It’s anyone’s guess as to why he spit it out – did he eat the good parts and expel only the hard shell? Was it an awkward shape and difficult to swallow? What do you think?

Critters of the Lembeh Strait | SEA WARS – Fighting Mandarin Fish
It’s hard to believe such a beautiful species as the mandarin fish (Synchiropus splendidus) can be so cut-throat when it comes to territorial battles, but make no mistake, these guys don’t mess around when another male comes in to try and muscle in on their harem. Finally the ‘sheriff’ makes an entrance at the end and breaks up the dirty fight!
Critters of the Lembeh Strait | Episode 10 – 2016 | September Highlights
We guarantee you have never before seen some of the crazy critter action featured in this week’s video; have you ever seen a video close up of the eye of an elegant sand diver? No? What about this eye with a shrimp on it? Didn’t think so. This and many more bizarre and beautiful surprises in this will make you wish you were here. What was your favorite part?
Critters of the Lembeh Strait | Episode 09 – 2016 | August Highlights
This time of year often brings slightly cooler water temperatures in Lembeh and to our delight, we’ve noticed many more baby frogfishes are around than normal. Coincidence? We think not! Some of these ultra-cute froggies are in this video as well as footage of rare nudis like the Phyllodesmium koehleri and one of the weirdest, most unusual critters we’ve ever seen – a bizarre polychaete worm (Diopatra Sp.) that looks like a cross between a bobbit worm and a furry-legged bristle worm! Enjoy this up-to-the-minute glimpse of what’s going on in Lembeh.
Critters of the Lembeh Strait | Episode 04 – 2016 | February Highlights
Here are some highlights from February…check out the cardinal fish – I don’t know how he manages all these eggs…crazy!

Critters of the Lembeh Strait – Episode 03 – 2016 | Frogfishes
This February is all about frogfishes…here’s a short video of some of the common species we usually see while diving the Lembeh Strait – Enjoy!
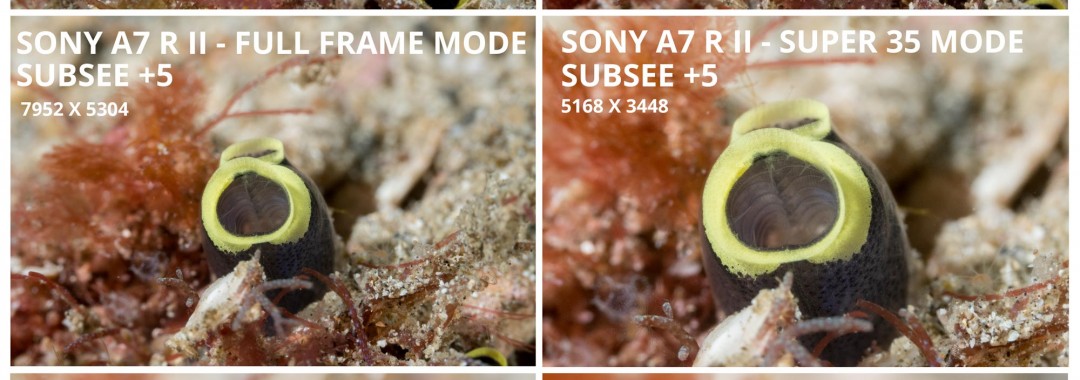
SONY A7RII with SONY FE 90mm F2.8 Macro G OSS & Reefnet SubSee +5 or Nauticam SMC
SONY A7RII with a 90mm macro lens – Image size comparison with the SubSee +5 and the Nauticam SMC
I was checking out different options of so called “wet-lenses” on the SONY A7RII in a Nauticam NA-A7II housing. I used the SONY FE 90mm F2.8 Macro G OSS lens without a wet-lens, with SubSee +5 and with the Nauticam SMC and compared the subject sizes at maximum magnification.
When using no “wet-lens” in Super 35mode, the image size is very similar to when using a SubSee+5 in Full Frame mode & when using a SubSee+5 in Super 35 mode the image size is very similar to when using a SMC in Full Frame mode.
The difference is that you have 42MP in Full Frame mode vs 18MP in Super 35 mode. Of course when shooting stills we want to have the full 42 MP (why else would we pay for them), but the Super 35 mode becomes really handy when shooting video. In both modes the A7RII is recording 4K in camera. It’s like having an extra teleconverter with you while diving. When I’m shooting video I try to use the Super 35 mode whenever possible, but when the subjects are a bit larger, it’s very nice to be able to shoot in full frame mode and get a tick closer.
Here are some images with my results:
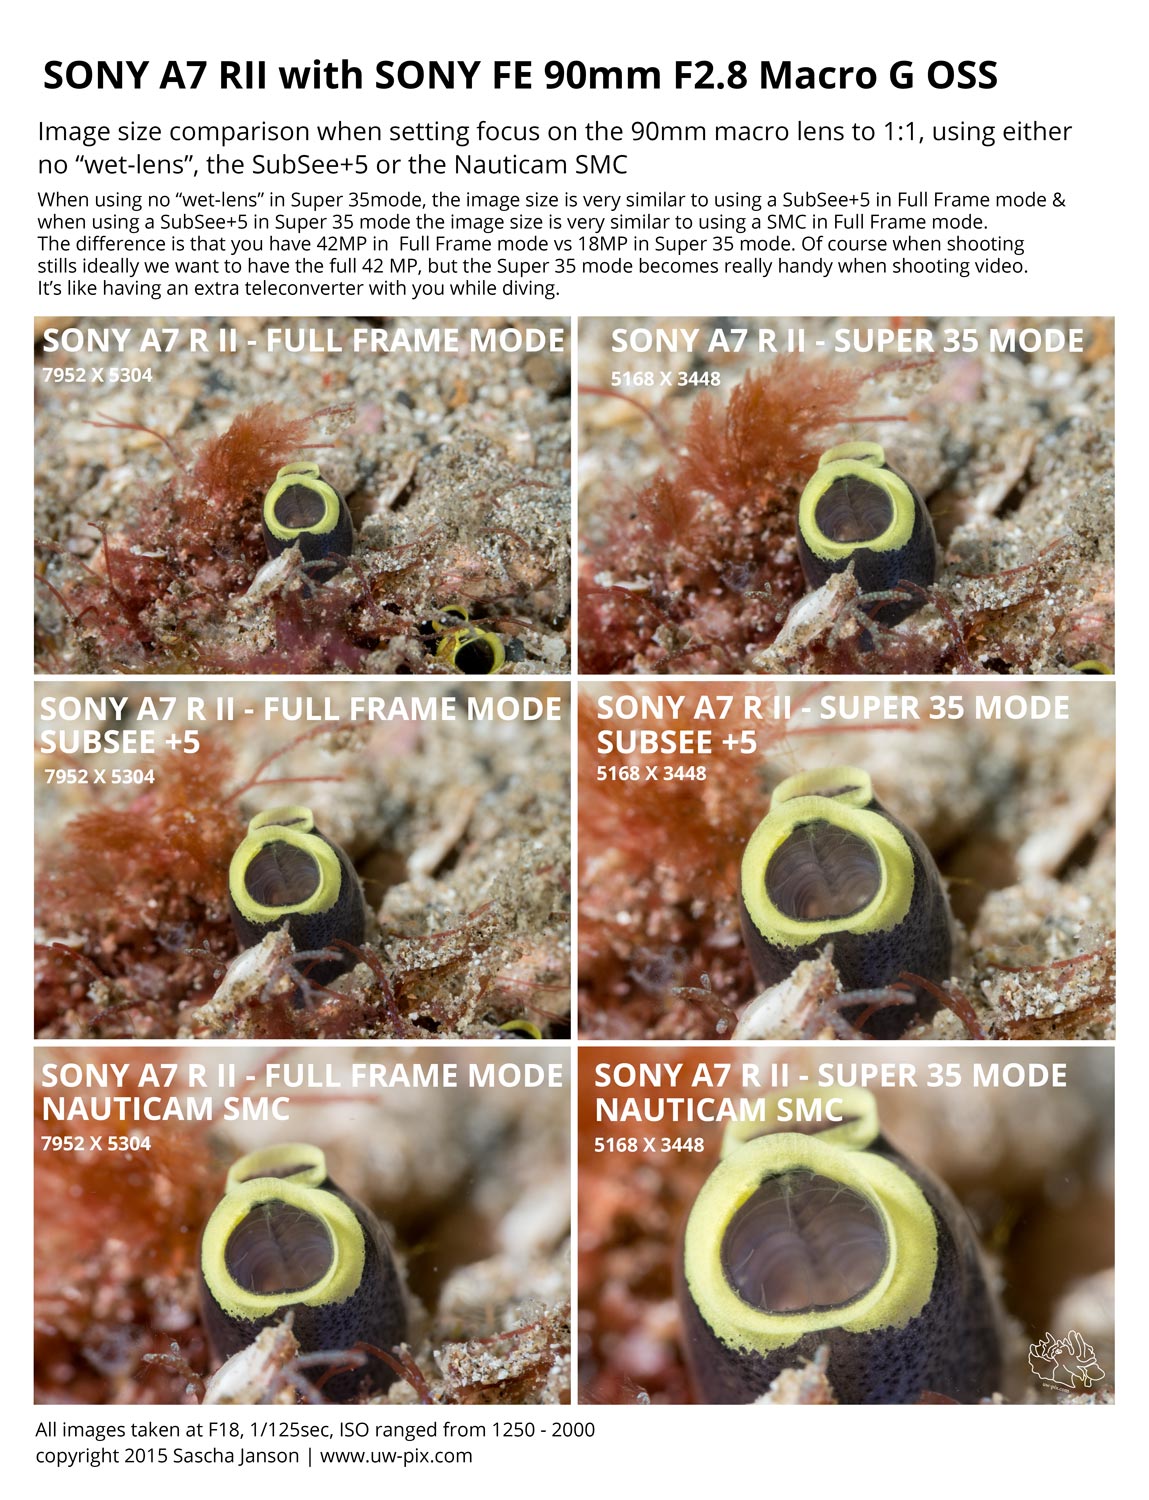
All images taken at F18, 1/125sec, ISO ranged from 1250 – 2000 (I had the camera on AUTO ISO)
Final conclusion: For shooting video with the A7R2 there’s no need for the SubSee +5, but it can be useful when shooting stills. I will do some more testing and keep you posted.
Underwater settings for Canon S120 / G7x and Macro Photography
These are suggestions of settings for the Canon Powershot S120, but the settings work as well for the Canon Powershot (G15 / G16 /G7x / S110) cameras for Underwater Macro Photography.
For shooting with strobe(s), I recommend using MANUAL mode:
F8.0 (for maximum depth of field) – (F11 on G7x)
1/250sec or faster (for minimizing ambient light)
ISO 80 or 100 (for minimal noise) – G7X: ISO 125
AWB (when shooting RAW it doesn’t really matter – we can make a white balance later in post-production)
BKT OFF
Single Shot (when shooting with strobe(s))
Self Timer OFF
Spot metering (doesn’t do anything when shooting in manual mode, but if you’re shooting in program modes it just measures the light on the spot and not the overall image)
4:3 (shoot at max resolution, you can crop later if needed)
RAW (I’m shooting only raw, if you want JPEG, I recommend setting the camera to RAW & JPG large so you’ll have RAW images for later use)
ND filter This filter will cut your exposure by -3 stops. Use it if the image is still overexposed with minimum strobe power or if you want a black background. It’s very useful when shooting super-macro with a close-up lens like the INON UCL 165, INON UCL 100, SubSee+5, SubSee+10, or Nauticam SMC.
When shooting super-macro with a close-up lens you have to use the zoom to get the best possible result. If you want the maximum magnification, zoom in all the way (make sure to switch the Digital Zoom OFF), then get very close. The distance depends a bit on the lens, but typically I would say between 3-6cm / 1-2inches away from the subject (the subject should get in focus automatically when the continuous AF is set to on), half-press the shutter until you get the green or blue square and shoot.
Practice first on land to avoid wasting valuable time underwater!
Here are some shots I took with a single strobe:
Flamboyant cuttlefish (Metasepia pfefferi) shot with S120 in manual mode (f8, ISO80, 1/400sec, 1x INON UCL165 macro lens, 1xINON D2000)
Wire coral shrimp (Pontonides uncigar) shot with S120 in manual mode (f5.7, ISO80, 1/800sec, ND filter ON, 1x INON UCL165 macro lens, 1x INON D2000)
Chromodoris nudibranch (Chromodoris annae) in front of Tunicate shot with S120 in manual mode (f8, ISO80, 1/800sec, ND filter ON, 1x INON UCL 165 macro lens, 1x INON D2000 strobe)
Shooting with LED lights:
If you’re shooting with strong LED lights, you can shoot in Av mode, if you want to be more creative, shoot in manual mode. The good thing about shooting with constant lights is that you can see the light before already, so the light-meters work! Good starting settings for shooting in AV mode are:
F5.6 for getting a relatively good depth of field (If you have powerful enough lights, and you get close, you can even shoot f8!)
ISO 160 or 200 don’t go higher than 320, or you will get a lot of noise
ND filter OFF – you shouldn’t use the ND filter when shooting with LED lights
Exposure compensation![]() should be at -2/3 – that will be a good exposure underwater.
should be at -2/3 – that will be a good exposure underwater.
All the other settings should be the same as above
The camera will now change the shutter speed to get the desired amount of light. If the shutter speed is slower then 1/60sec you have to go up with the power of the LED or change the ISO (higher number) or choose a larger aperture (lower F-number).
Painted frogfish (Antennarius pictus) shot with S120 in Av mode (f5.6, ISO160, 1/640sec, +/-(Exp.) -2/3,1x SOLA 4000, 1xSOLA 1200video)

Painted frogfish (Antennarius pictus) shot with S120 in Av mode (f5.6, ISO160, 1/1650sec,+/-(Exp.) -2/3, 1x i-Torch Pro6+, 1xF.I.T. 2400WSR on spot)
Hairy frogfish (Antennarius striatus) shot with S120 in Av mode (f5.6, ISO160, 1/1250sec, +/-(Exp.) -2/3, 1x F.I.T. 2400WSR on spot)
Here are some other settings I recommend setting the camera to (You’ll find these in the Menu):
AF Frame – 1-point or Center Don’t leave this setting on Face AiAF, because most likely the camera will not recognise the critters’ faces ![]()
AF Frame size – Small For shooting tiny subjects it’s easier to focus on the desired area
Digital zoom – OFF Don’t use the digital zoom, as it’s similar in quality to just cropping in post-production.
AF-Point Zoom – OFF This is my personal preference, some people like having an enlarged centre focusing area when focused, I prefer to only get the green square. Play around with it and see what you like better!
Servo AF – OFF I prefer to have the camera only focusing once when I half-press the shutter, so I can rock in and out to get the subject in focus (while keeping the shutter half-pressed). If you switch the servo AF on, the camera keeps focusing while half-pressing the shutter. If this function is set to on, the frame turns blue when in focus, if it’s off, the frame turns green when in focus.
Continuous AF – ON It can be helpful to keep this function on. It allows the camera to focus continuously without half-pressing the shutter button. It will focus faster when you finally half-press your shutter button to take the image. It also uses more battery, if you want to save battery power, switch it off.
Touch Shutter – OFF (only S110 / S120) You cannot use the touch screen underwater, so no real use for that.
AF-Assist Beam – OFF The beam will be blocked by the housing, so not really useful ![]()
MF-Point Zoom – on It enlarges the center focusing area for easy viewing at all times when shooting in manual focusing mode.
Safety MF – ON This refines the manual focusing when the shutter is half-pressed. Switch it OFF if you don’t want that.
Flash Settings If you are shooting in Manual Mode with an external strobe, set to minimum power to save battery life. Switch OFF the Red-Eye Lamp.
Spot AE Point – AF Point Calculates exposure using the selected AF point (only works in AUTO-modes, useless in manual mode).
Blink Detection – OFF The camera most likely will not detect the critters’ eyes, so no use.
i-Contrast – OFF This function is useless unless you are shooting in Auto ISO mode. However, Auto ISO is not recommended. You will get noise in your images when the camera automatically chooses a higher ISO in darker underwater environments.
IS Mode The Image Stabilizer might be helpful if you are shooting at slower shutter speeds if you’re shooting a moving object, or when shooting video.
Record RAW + L – ON This function allows the camera to record simultaneously a RAW file + a large JPEG file. I strongly recommend shooting in raw, read this article if you want to know why.
Shooting TTL (through the lens)
If you want to use the TTL function of your external strobe, set the camera to Av mode (the G7x can do TTL in Manual mode), make sure the flash is on and use the same settings like above (f5.6 – f8 for macro)
The shutter speed will not go slower than 1/60sec if the flash is on.
If you don’t already use Adobe Lightroom, I strongly recommend using it. It will help you get organized with your images and makes displaying raw files easier. It is also a very powerful tool to enhance your images. Adobe Lightroom is available for MAC and PC.
There’s also the option of getting Lightroom and Photoshop as a bundle with the Adobe Creative Cloud Photography plan (Photoshop CC + Lightroom) for $9.99/month, which I find is a pretty good deal, given that you will always have the newest version of Photoshop and Lightroom.
- Sale!
Flip-Mount for Fantasea housing
Price range: €129,00 through €221,00 Select options This product has multiple variants. The options may be chosen on the product page
Critters of the Lembeh Strait | Episode 20/2014
It’s an underwater party and all your favorite critters of the Lembeh Strait are there – anemone fish, blue-ringed octopus, ornate ghost pipefish with eggs (yes, children are welcome at this party!), various frogfishes and a graceful free-swimming ribbon eel. Also keep your eyes peeled for a very special, seldom seen little goby, the Priolepis vexilla, whose blue-and-red striped face, dotty body and spiky dorsal fin will surely charm you. Sit back and enjoy!