Here are some tips to help you get better results photographing nudibranchs:
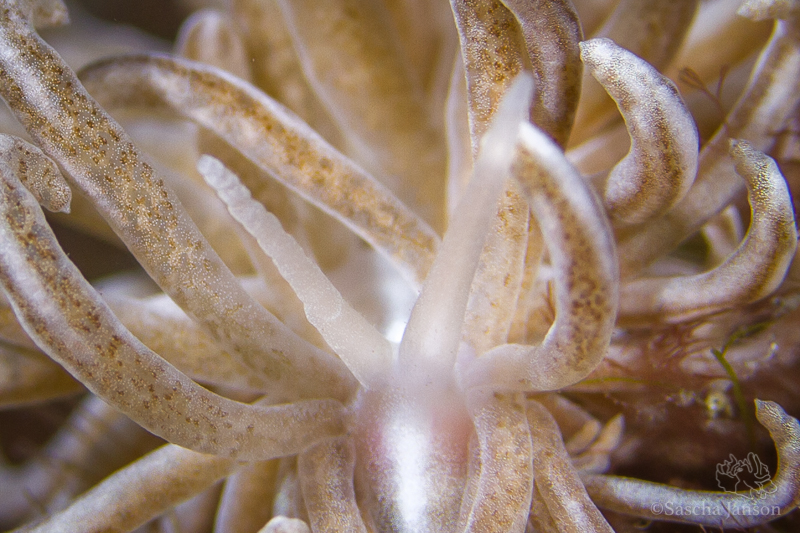
Try to get down low – It’s always a good idea to get down as low as possible, as we learned in TT&T#2 (avoid helicopter shots), but how can we do this in practice? Well, we have to find subjects in the right position. If a nudibranch is just sitting in the sand it’s often very difficult or even impossible to isolate the subject from the background. Look for opportunities to shoot nudis at least horizontally (we can sometimes achieve this with getting down very low), or even better, shoot slightly upwards. Sometimes the dive guides here will not show you a nudibranch which is sitting in a perfect position, because they showed you two or three of them already and there might be something “more interesting” (rare) in that area. Getting good images is not so much about capturing the rare species, it’s more about good composition. It’s better to have a great photo of a common species than a poor or mediocre shot of a rare one. If you see a nudi sitting on a hydroid stick, a rock or coral where you can separate the subject from the background and not include the sand for example, go for it and take a few shots. Remember that the focal point should be the rhinophores (those cute little ‘horns’), or, if it is a species with eyes such as Costasiella kuroshimae (the ‘sheep’ nudi) then it’s important to have the eyes in focus. If you can convey something to the viewer about nudibranch behavior (while adhering to the principles of good composition) this also makes your image more interesting – examples include photos of nudis eating, mating, sniffing the water column or laying eggs. Nudibranchs are most photographers’ favorites. Why? Because they don’t move that fast and this makes it possible to try out different techniques while photographing nudibranchs.
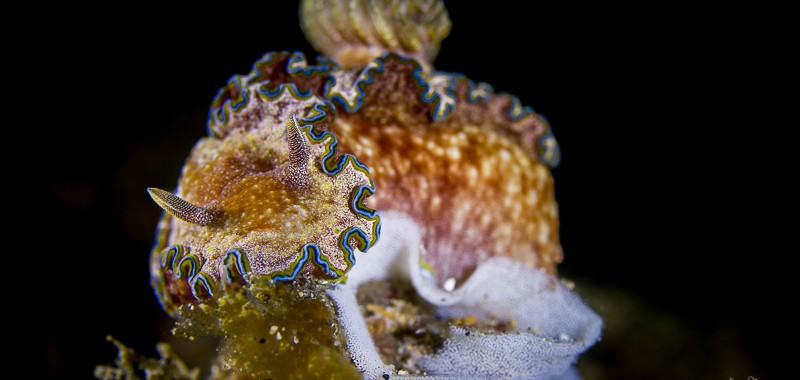
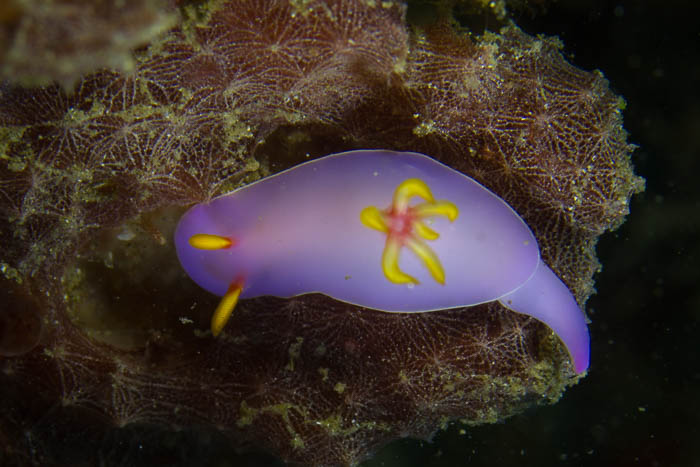
Here are some examples of nudibranch shots (good and bad ones):
This is a poor shot of a very pretty nudibranch, the Hypselodoris bullocki. Shot from the top, no “eye contact” and not separated from the background.

Same nudibranch (Hypselodoris bullocki), but interesting angle, “eye (or rhinophore) contact”, made to stand out from the background (by getting down very low and minimizing ambient light) and some behaviour (laying eggs/mating) going on.
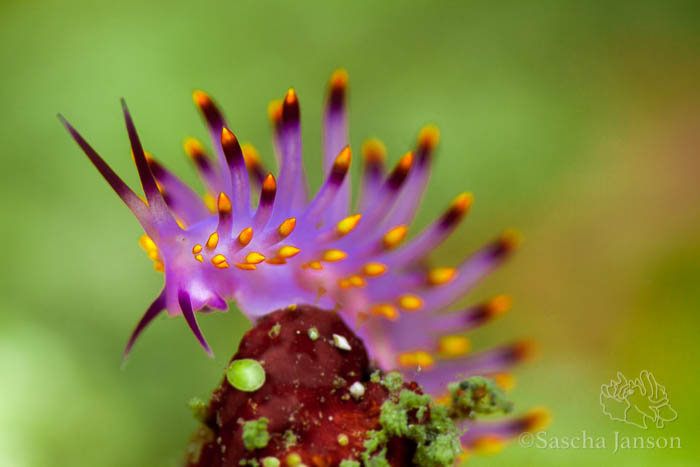
Flabellina rubrolineata on top of a little rock, made to stand out from the background by bokeh (out of focus) technique.
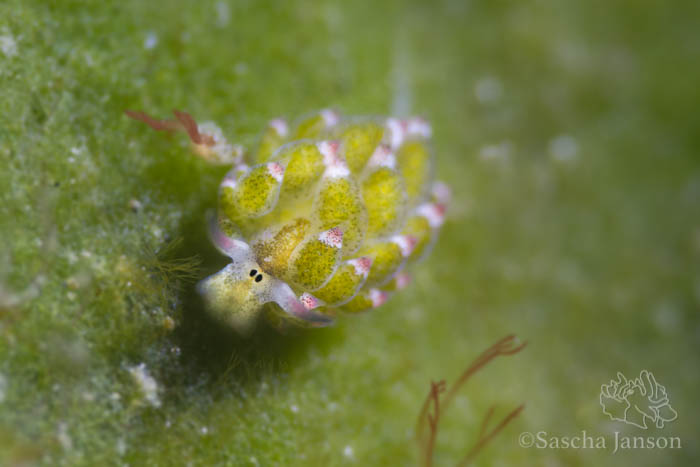
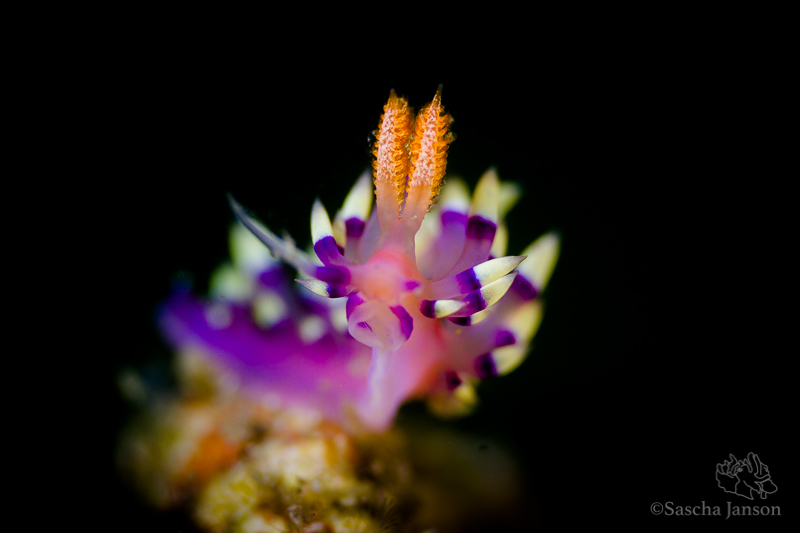
Costasiella kuroshimae (the ‘sheep’ nudi) – “eye contact”, made to stand out from the background by bokeh technique.
Nembrotha milleri sniffing the water column, made to stand out from the background by bokeh technique.
If you want to create a bokeh (out of focus background) effect, you have to open up the aperture. Settings depend on your lens setup, but frequently used settings are somewhere between f4.5 and f11. This is useful for eliminating ugly or busy backgrounds commonly found here in Lembeh such as sand and rubble. Here are some more example shots:
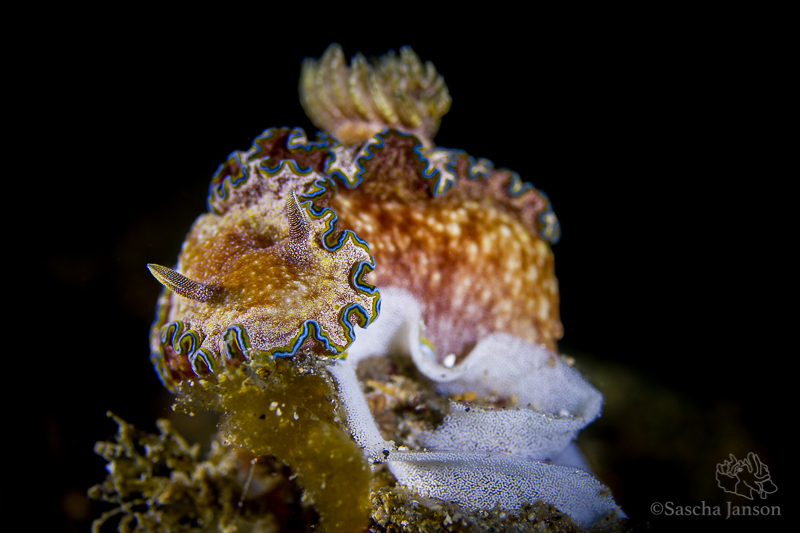
Nembrotha chamberlaini sucking on a tunicate

f11 – 1/200sec – ISO 160 – 1xSOLA 4000, 1xSOLA1200 – Canon 7D – Subal CD7 – 60mm macro
Gymnodoris rubropapulosa attacking a Hypselodoris whitei (watch the surprising video here)
f10 – 1/60sec – ISO 160 – Canon 7D – Subal CD7 – 60mm macro – 1xSOLA4000, 1x i-Torch Pro7
Hypselodoris bullocki abstract shot
f5.6 – 1/320sec – ISO 160 – Canon 7D – Subal CD7 – 100mm macro – Kenko 1.4 Teleconverter – 1x SOLA 4000, 1x SOLA 1200
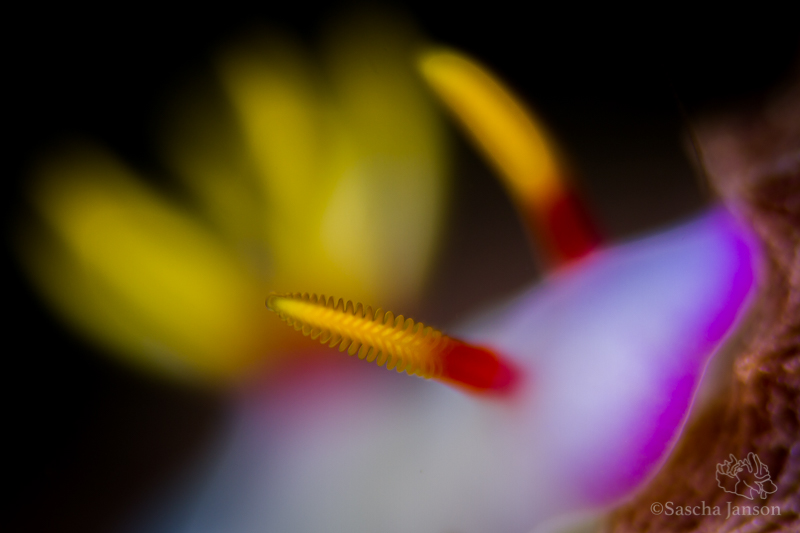
Shooting with this shallow DOF (depth of field) is sometimes very tricky. It’s very easy to miss that crucial focus point and the image doesn’t look that good if the wrong part of the image is in focus. For nudibranchs we usually aim for the rhinophores to be in focus, as we learned in TT&T#16, or at least the one rhinophore closest to the viewer. The next image could be more powerful if both rhinophores were in focus in order to better distinguish them from the very similar-looking cerata. In the above image however, having just one rhinophore in focus ‘works’ because its eye-catching colour, detail and texture makes it stand out against the very blurry background.
Phyllodesmium serratum – the rhinophore on the right in this photo (or the nudi’s left rhinophore) is not in focus
f5.6 – 1/200sec – ISO 160 – Canon 7D – Subal CD7 – 60mm macro – 1xSOLA 4000, 1x SOLA 1200
The above image at 100% – the right rhinophore is just a tiny bit further ahead of the left one, but at f5.6 and very close distance that’s enough to render it out of focus.
If you’re shooting with constant light, you can even combine the shallow depth of field with a dark background by using a very fast shutter speed (due to synchronization speed limits not possible with strobes).
Flabellina exoptata on hydroid
f5.6 – 1/800sec – ISO 160 – Canon 7D – Subal CD7 – 60mm macro – 1xSOLA 4000, 1x SOLA 1200
Glossodoris cincta laying eggs
f5.6 – 1/1000sec – ISO 160 – Canon 7D – Subal CD7 – 60mm macro – 1xSOLA 4000, 1x SOLA 1200