In some situations we end up having trouble getting everything we want to be in focus. It can be for various reasons, for example not having enough light to close the aperture. If that happens there is still a way to get around that in Adobe Photoshop. It’s called focus stack.
Here’s what you can do if you shoot multiple (in this case 2) images of the same scene with different subjects in focus:

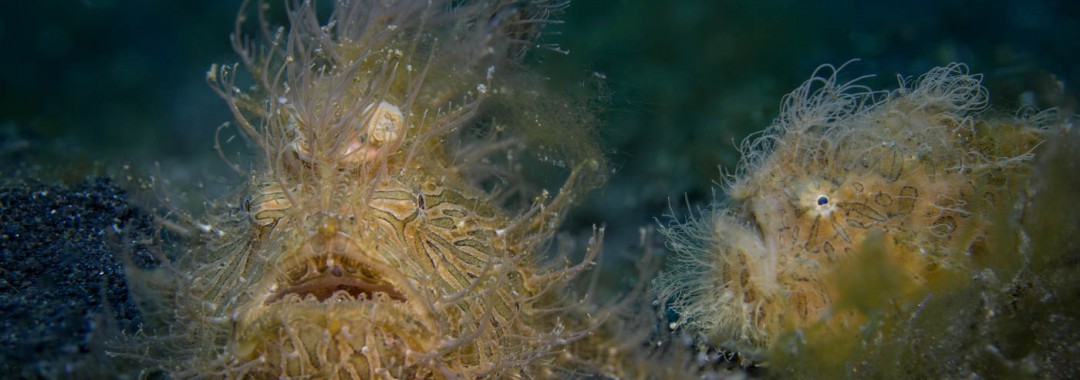
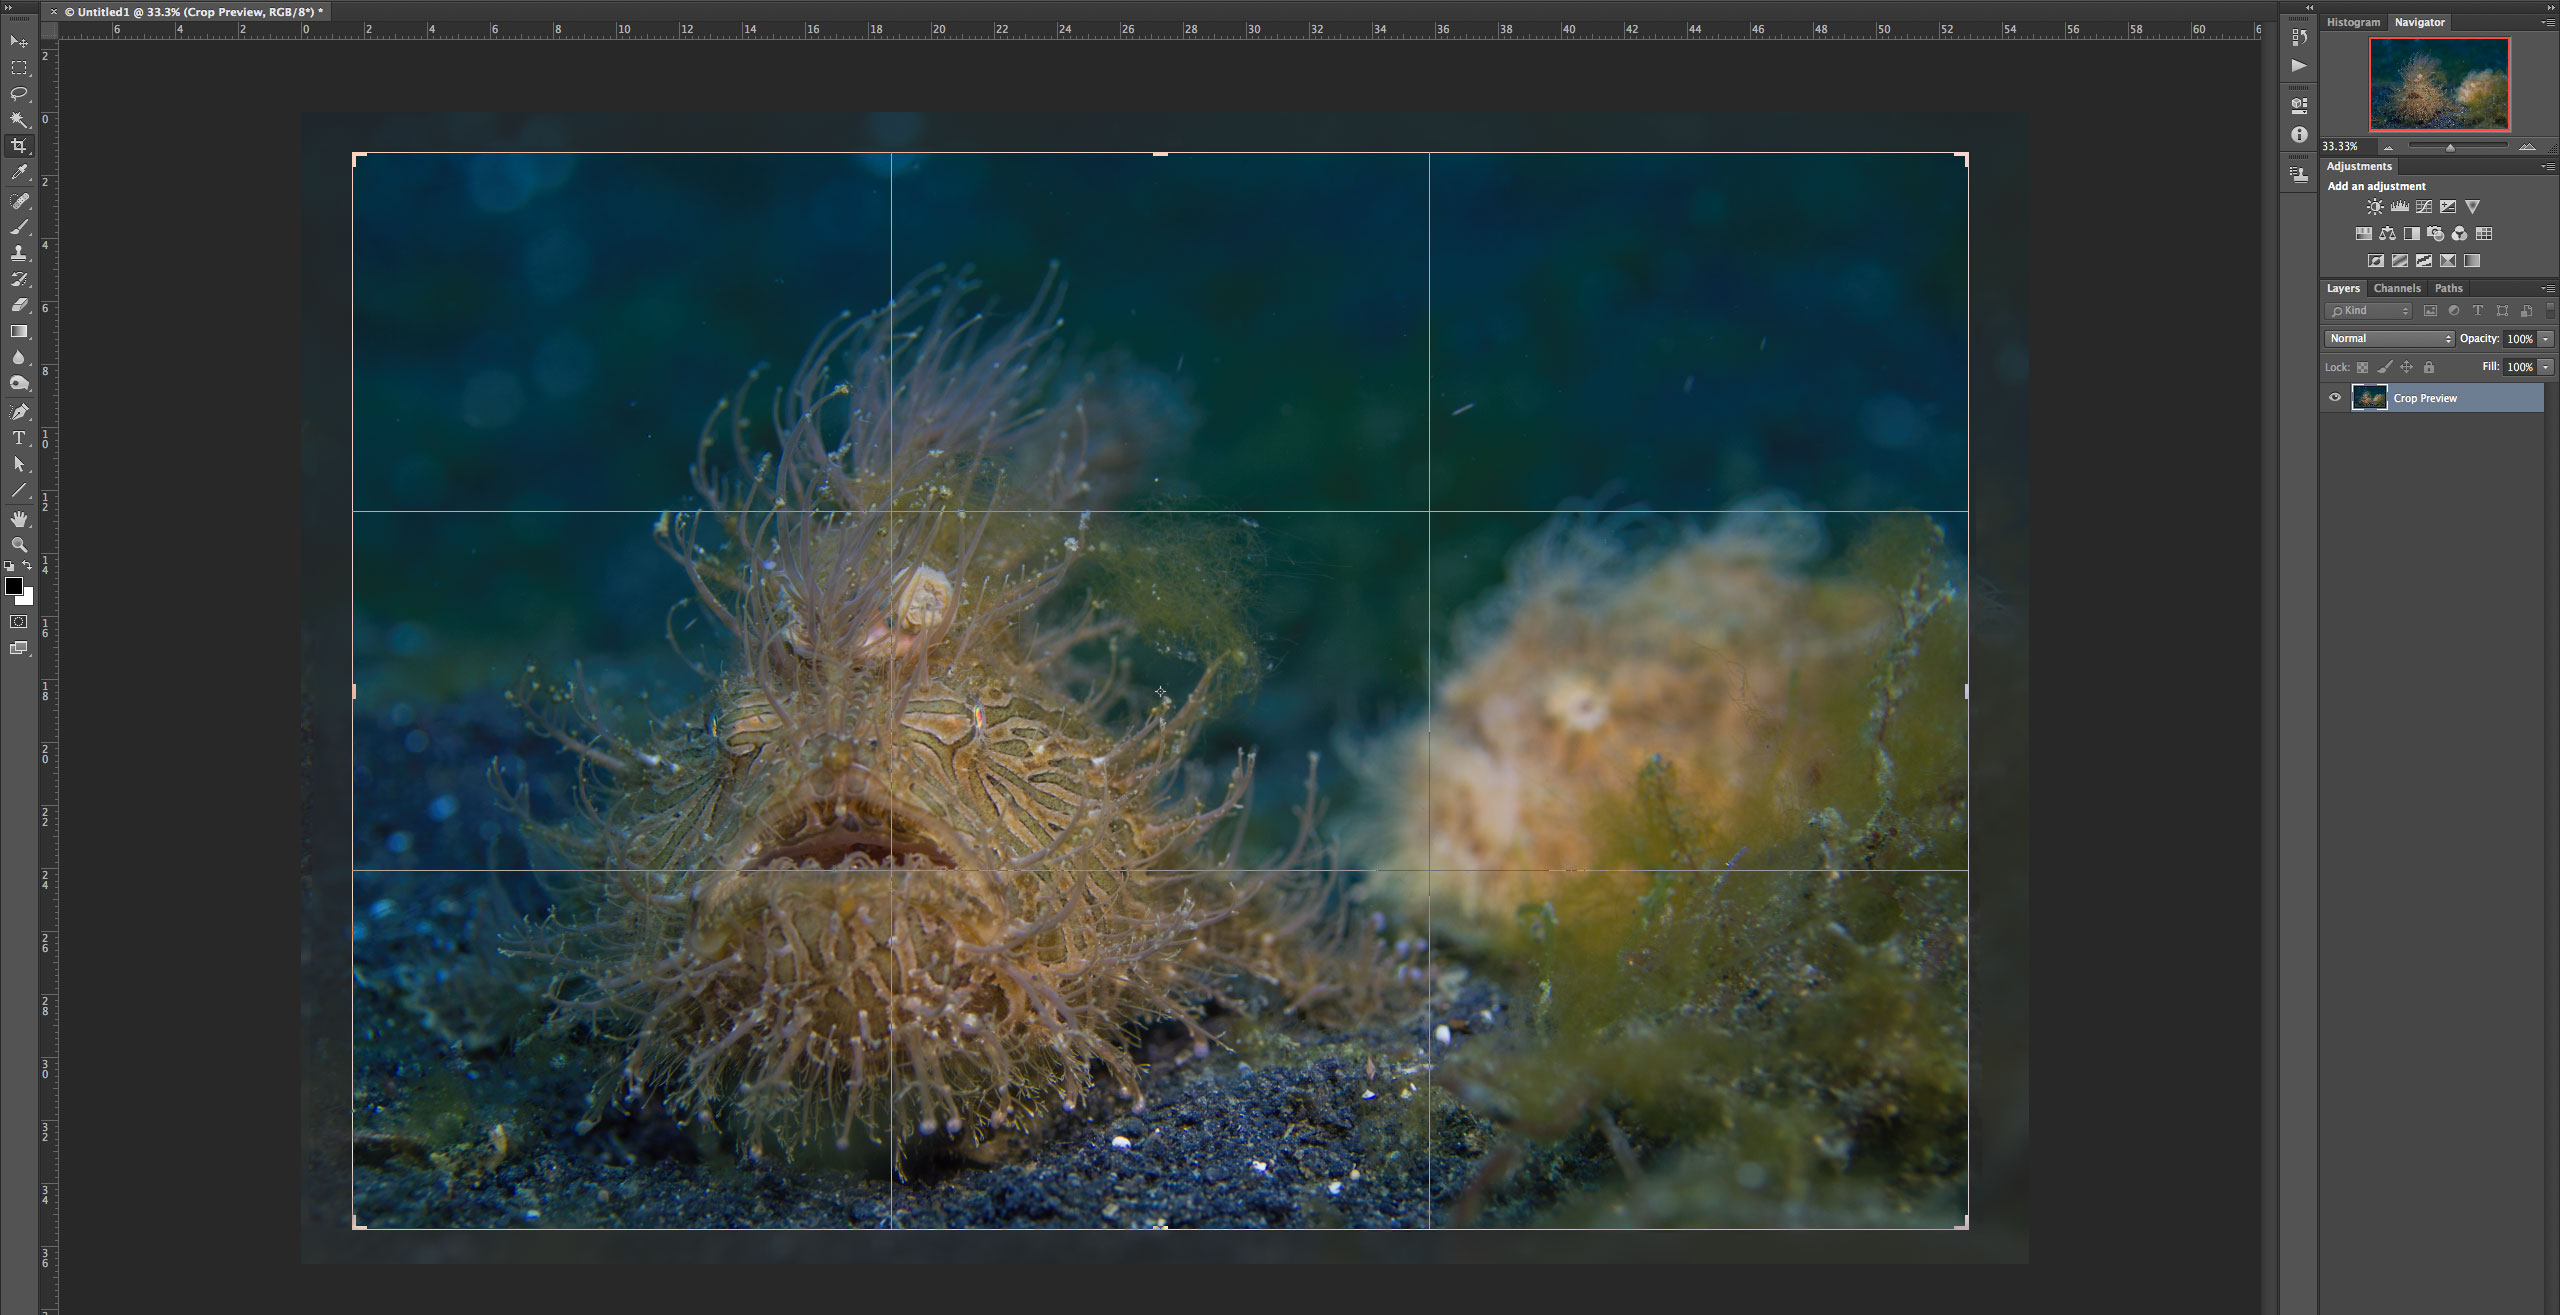
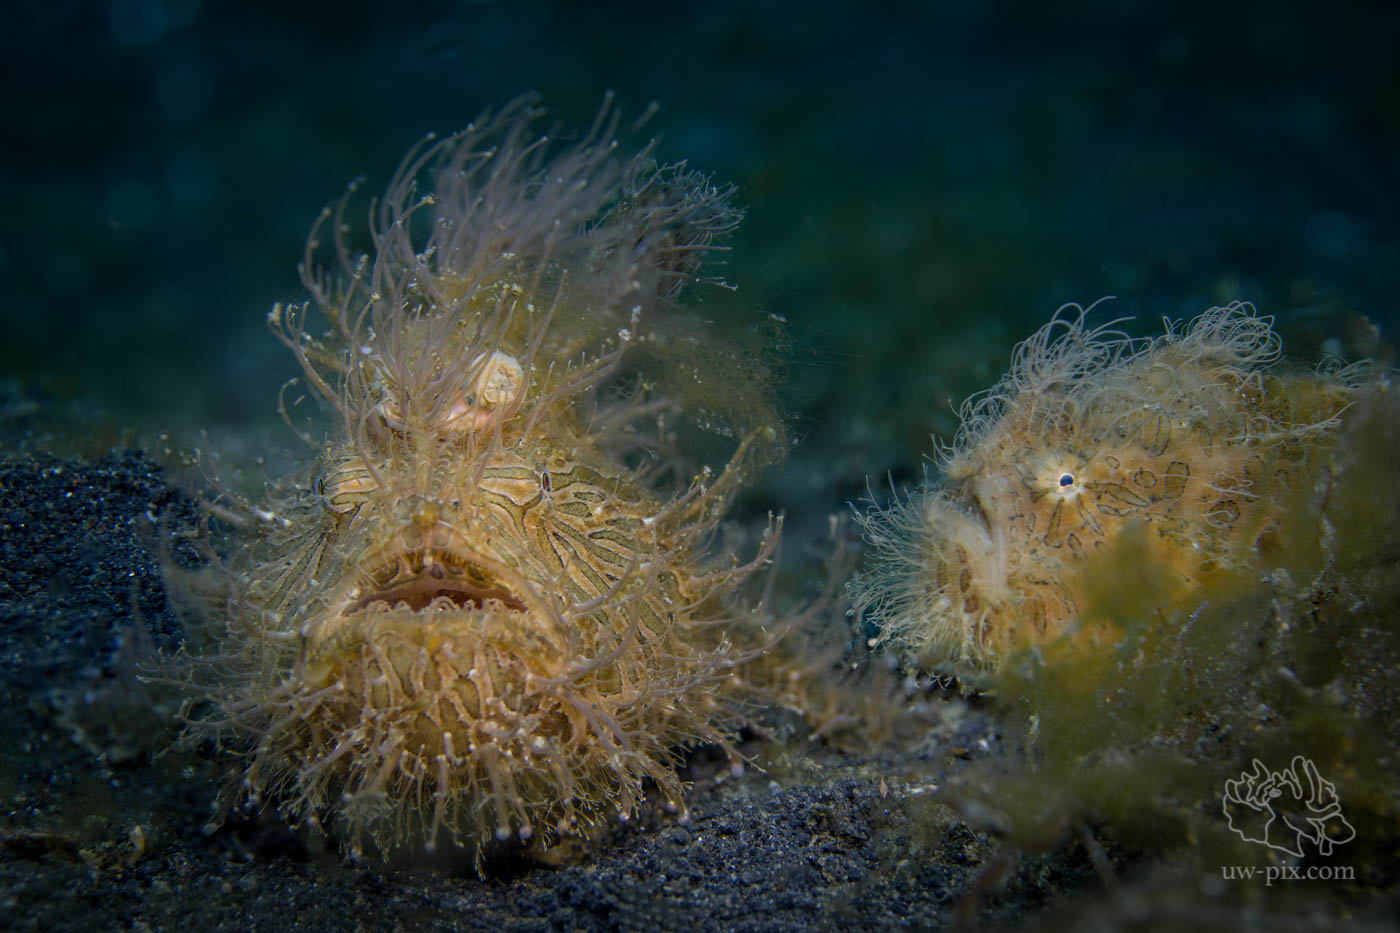
In this image the frogfish in the front is in focus, but the one in the back isn’t… (F5.6, 1/200sec, ISO 160)
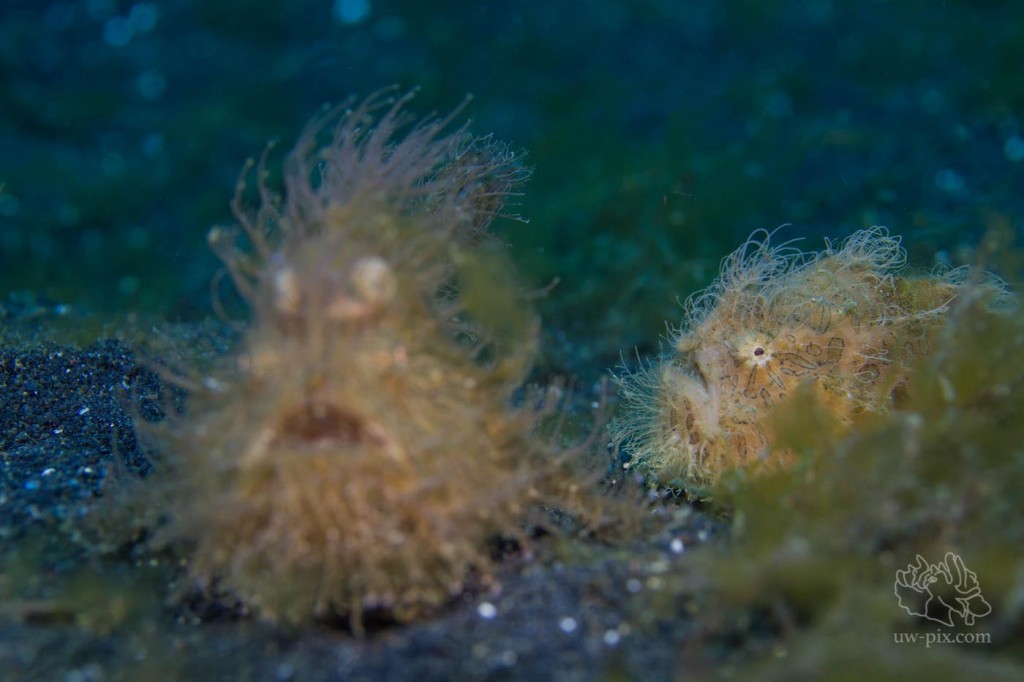
In this image the frogfish in the back is in focus, but the one in the front isn’t… (F5.6, 1/200sec, ISO 160)

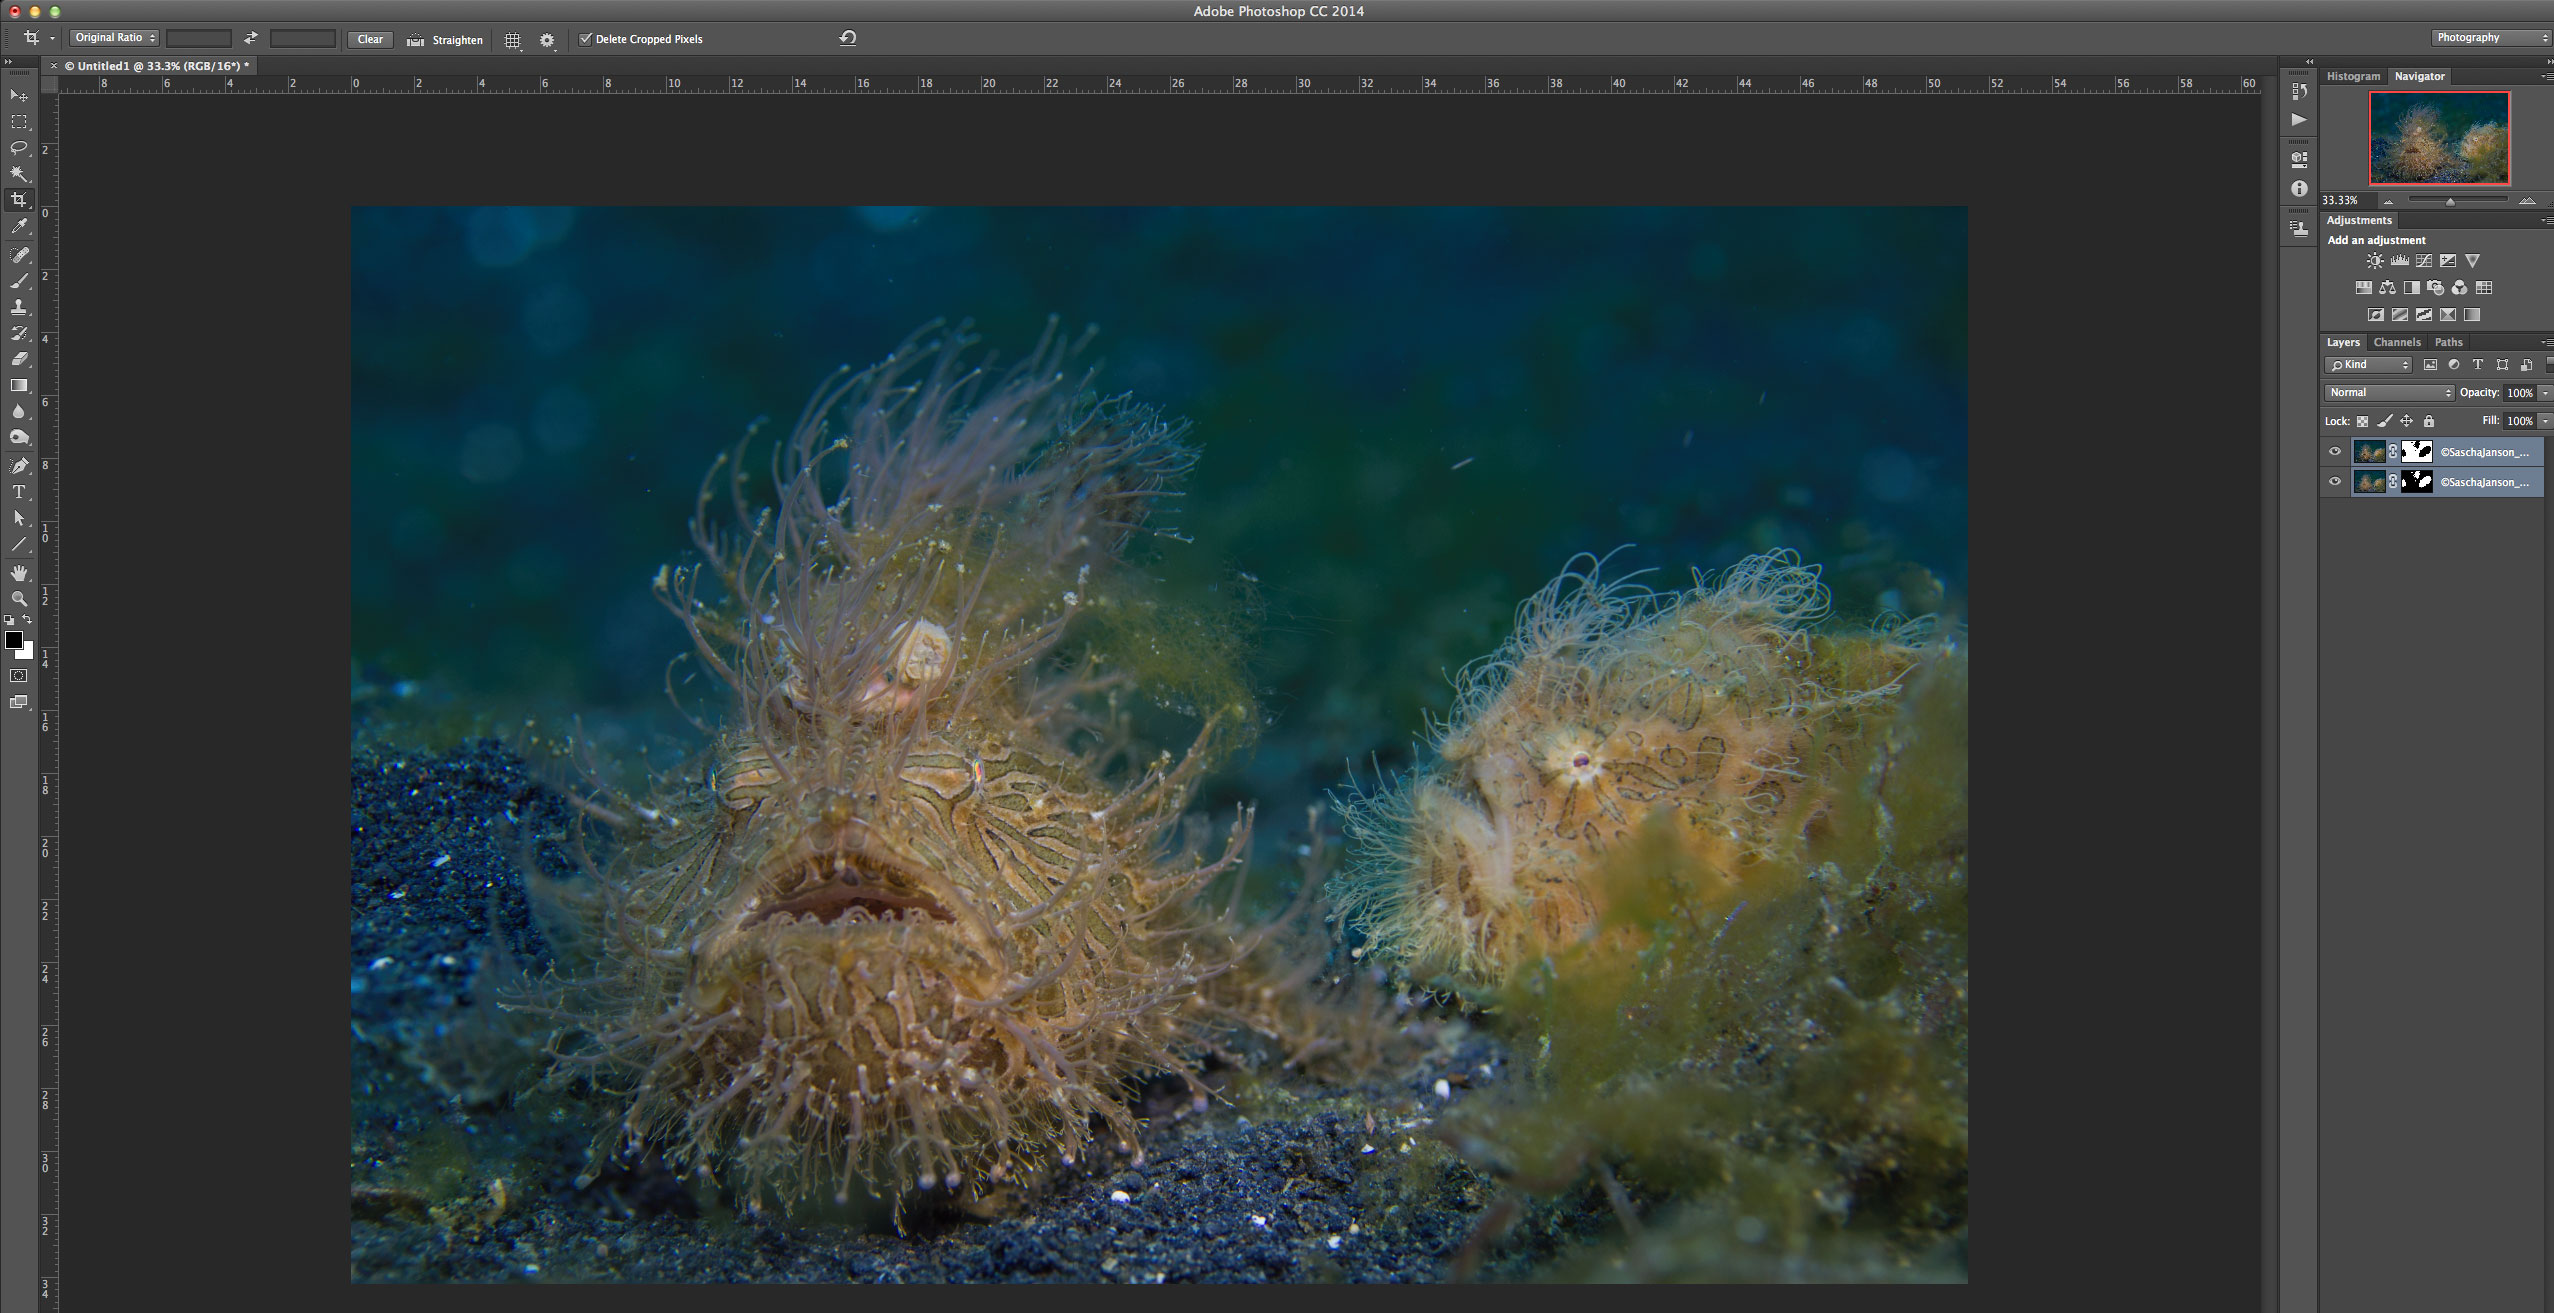
Focus stacked images – both frogfish are in focus ! (F5.6, 1/200sec, ISO 160)
Here’s how you do it:
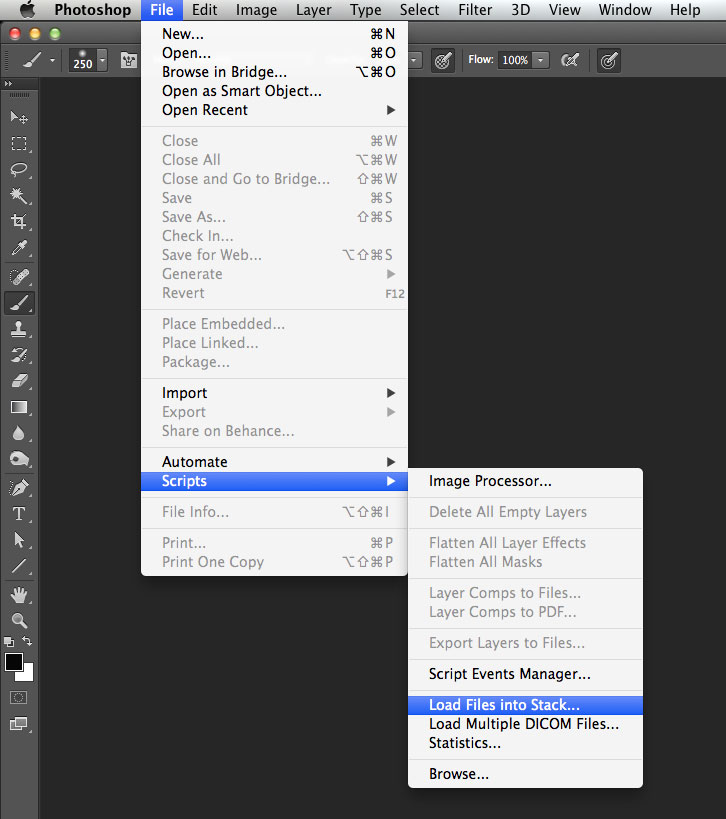
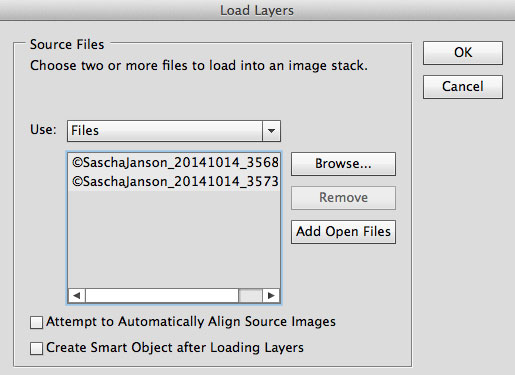
Open Photoshop and go to Edit – Scripts – Load Files into Stack…
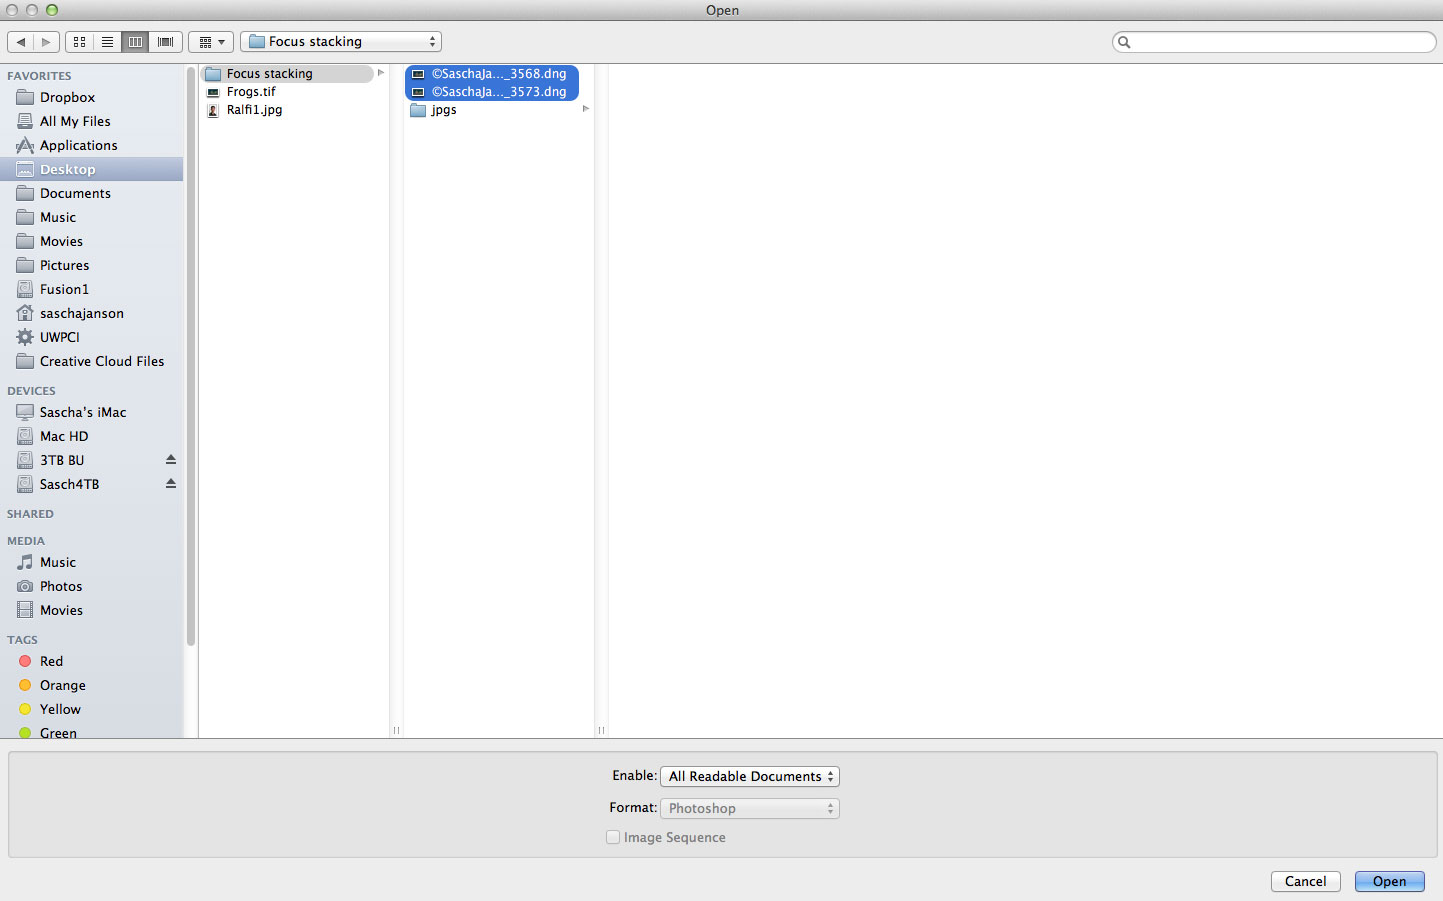
then select your files with clicking Browse
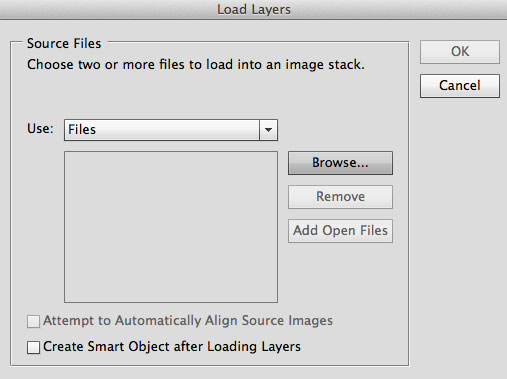
Select your images and click Open
then click OK
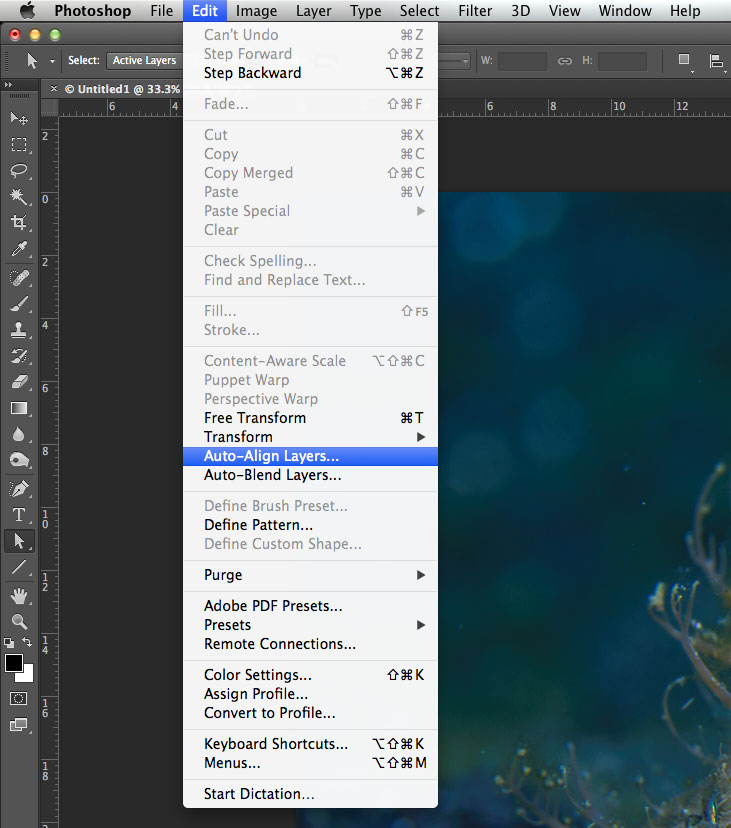
Then go to Edit – Auto-Allign Layers…
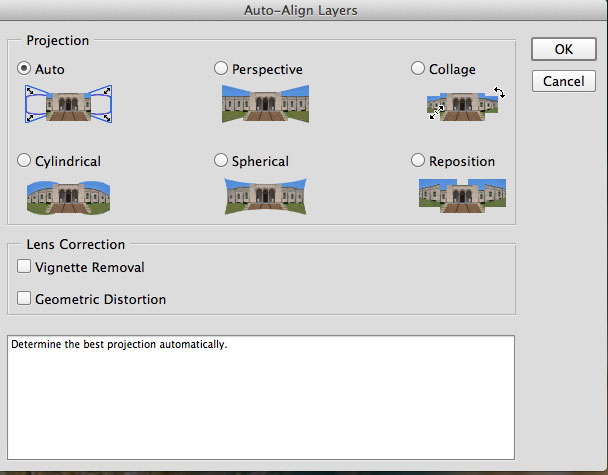
usually Auto does the right thing, so just keep the default Auto setting and click OK
Now you’ll have two (in my case) images aligned up nicely and you can use the Crop Tool, to crop the image slightly to get rid of unwanted pixels.
After that go to Edit – Auto-Blend Layers…
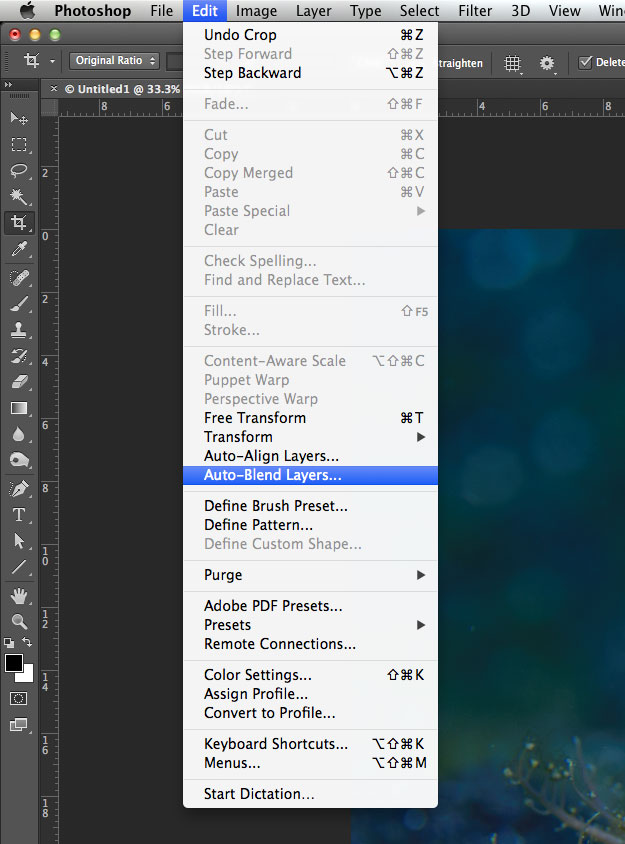
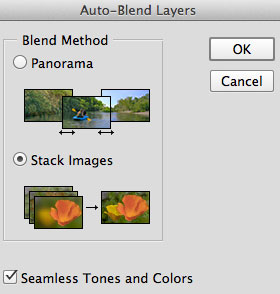
Photoshop detects automatically if the blending mode should be Panorama or Stack Images and you just click OK
and here is the result – stacked images, with both frogfish in focus…
a tiny little bit of tweaking in Lightroom and here’s the final result:
Adobe Photoshop and Adobe Photoshop Lightroom are available as the Adobe Creative Cloud Photography plan (Photoshop CC + Lightroom) for 9.99/month only.